4-Wheel Brake Job & Battery Replacement Guide
Complete every step of a full brake job and battery swap on your Kia Optima with confidence.
Based on: 2019 Kia Optima Gets New Brakes & Battery | Just Another Day At SMA by South Main Auto LLC
Complete every step of a full brake job and battery swap on your Kia Optima with confidence.
Based on: 2019 Kia Optima Gets New Brakes & Battery | Just Another Day At SMA by South Main Auto LLC
Have you ever stared at your brake pedal wondering if today is the day something goes seriously wrong? That soft, spongy feel, the faint metallic groan on a cold morning, or the dashboard light you've been pretending not to see — your car is trying to tell you something, and ignoring it only makes the job harder and the bill bigger.
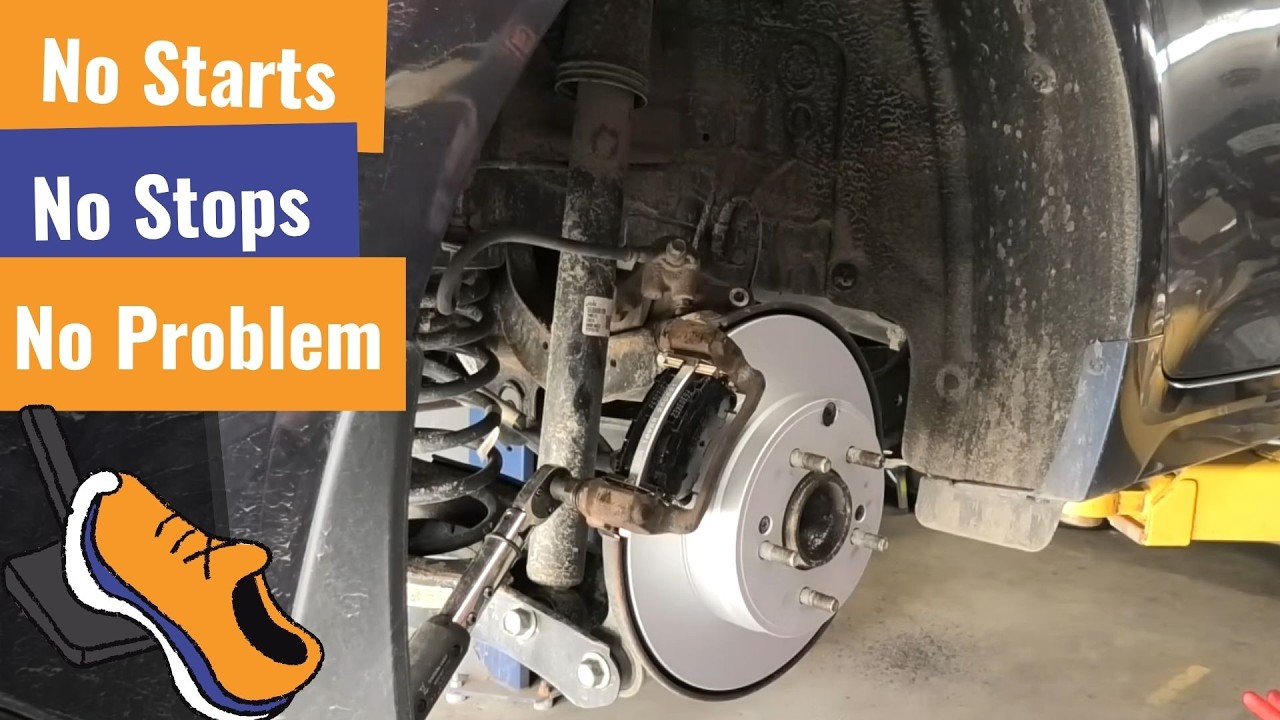
Here's the thing most people don't realize: a full four-wheel brake job on a modern car like the Kia Optima isn't just about swapping out pads. There are seized caliper bracket bolts that will snap if you attack them wrong. There are rear pistons that screw in rather than press in — and if you don't know that going in, you'll be standing in your driveway confused for an hour. There are rotor screws that seem pointless until they're the only thing preventing a rotor from walking off the hub. And there's a very specific sequence of lubrication, hardware installation, and torque specs that separates a brake job that lasts from one that vibrates, squeals, or — worst case — fails.
Imagine finishing this job yourself. Wheels back on, lug nuts torqued down, pedal pumped up firm and solid, and then pulling out of your driveway knowing you did it right. No shop bill. No waiting two days for an appointment. No wondering if they actually replaced everything they charged you for. Just the quiet confidence of someone who did the work with their own hands and knows exactly what went into it.
South Main Auto has been doing this professionally for decades, and the channel has walked hundreds of thousands of viewers through real-world repairs on real cars — not sanitized showroom demonstrations. This particular video covers a 2019 Kia Optima with the 2.4-liter engine, front and rear brakes, and a battery replacement on a seven-year-old original battery. The techniques shown — from cracking seized bracket bolts with an impact driver to properly threading rear caliper pistons, from sandblasting mounting surfaces to applying ceramic lubricant in exactly the right spots — are the same methods used in a working professional shop.
This checklist takes everything taught in that video and puts it in your hands as a clean, step-by-step reference you can bring right into your garage. Every tool, every torque spec, every lubrication point, every common mistake to avoid — it's all here. Stop guessing and start wrenching.
Every checklist item comes with actionable notes to guide you — things like "Don't forget to do this before you start," "Avoid this common mistake," or "Set a reminder for 30 days out." Nothing vague, just clear next steps.
+ 33 more action items inside...
Instant PDF download. Start taking action today.
✓ Instant download · ✓ PDF format · ✓ No subscription