Why You Need This Checklist
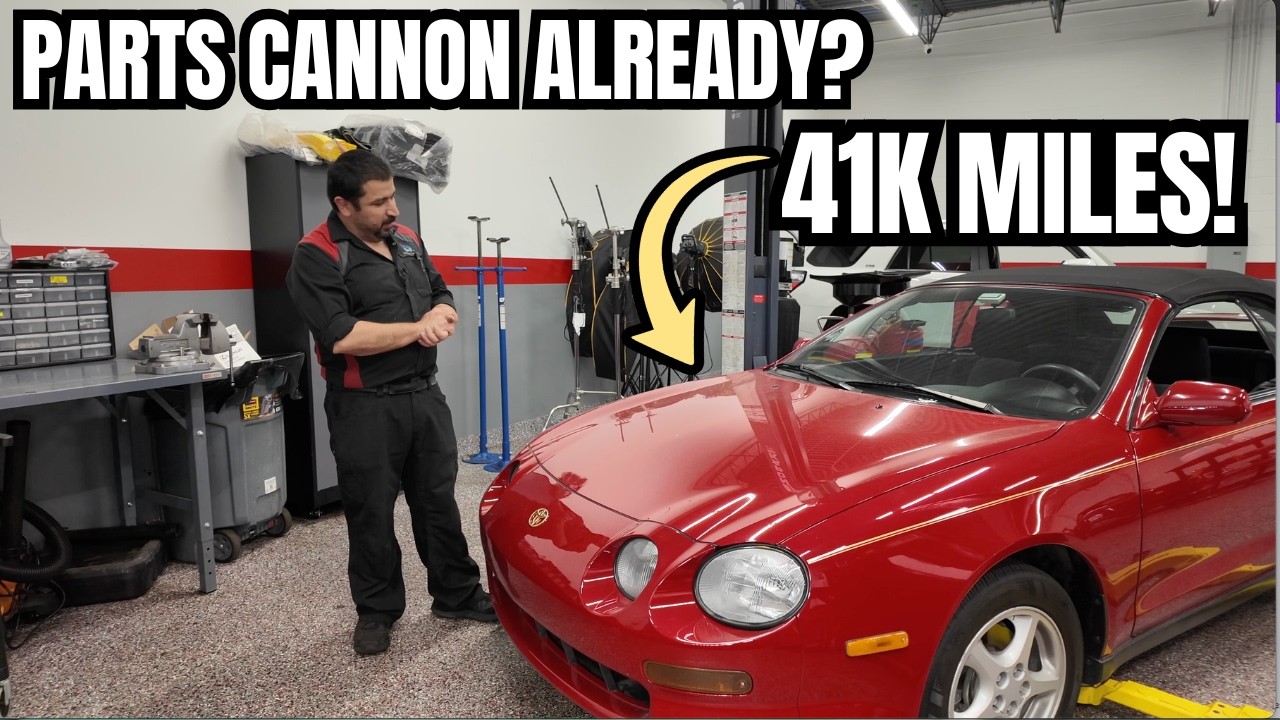
Have you ever heard a strange whining or grinding noise from your engine bay and assumed the worst — that you'd need to replace an entire AC compressor? That assumption could cost you hundreds of dollars you don't need to spend. Before you hand over your hard-earned money for a full compressor replacement, you need to know what The Car Care Nut discovered on this pristine 1995 Toyota Celica with only 41,000 miles on the clock.
Here's the frustrating reality: most shops will hear that AC noise and immediately quote you a full compressor replacement. They won't take the time to diagnose whether the problem is actually just the idler pulley bearing — a small, inexpensive component that keeps spinning even when the AC clutch is disengaged. If that bearing goes gritty, you get the noise. The compressor itself could be perfectly healthy. Replacing a working compressor is a waste of money, and on older vehicles where parts are discontinued or nearly impossible to source, it could mean losing an irreplaceable original component forever.
Imagine instead knowing exactly how to isolate the noise to the pulley bearing, sourcing just the part you actually need, removing the compressor cleanly without spilling refrigerant or oil, swapping the bearing, and — this is the part most DIYers skip entirely — measuring and setting the AC clutch air gap precisely using a dial indicator. When that gap is set correctly, your clutch engages cleanly, your compressor runs efficiently, and you don't burn out a perfectly good clutch through slippage. That's the difference between a repair that lasts and one that fails six months later.
The Car Care Nut has spent years working on everything from modern daily drivers to rare, low-mileage classics like this Celica. His approach is methodical, transparent, and genuinely educational — he doesn't just fix cars, he explains every decision so you understand why each step matters. In this video, he walks through refrigerant evacuation, compressor removal, bearing replacement, shim selection, clutch gap measurement with a dial indicator, belt replacement, and oil change — all on a car where doing things right the first time is non-negotiable.
This checklist captures every single actionable step from that repair so you can follow along confidently, whether you're tackling this yourself or supervising a mechanic. Use it to make sure nothing gets skipped, every torque and clearance spec gets checked, and your repair is done the way a true professional would do it. Download the checklist, print it out, and get the job done right.
What's Inside — Preview
Every checklist item comes with actionable notes to guide you — things like "Don't forget to do this before you start," "Avoid this common mistake," or "Set a reminder for 30 days out." Nothing vague, just clear next steps.
CHECK
Diagnose the AC noise by isolating it to the compressor pulley bearing, not the compressor body or clutch itself
RESEARCH
Research parts availability for your specific AC compressor pulley bearing before committing to a repair strategy
AVOID
Avoid replacing the entire AC compressor when only the pulley bearing is faulty
DO
Evacuate all refrigerant from the AC system using a recovery machine before opening any AC lines
DO
Remove the AC drive belt before attempting to remove the compressor
+ 26 more action items inside...
 ▶ Watch the source video on YouTube