watch · distill · act

Apply Paper Tape to Drywall Like a Pro

Follow this step‑by‑step checklist to embed paper tape perfectly on butt joints, inside corners, and tapered joints — no bubbles, no dry tape.

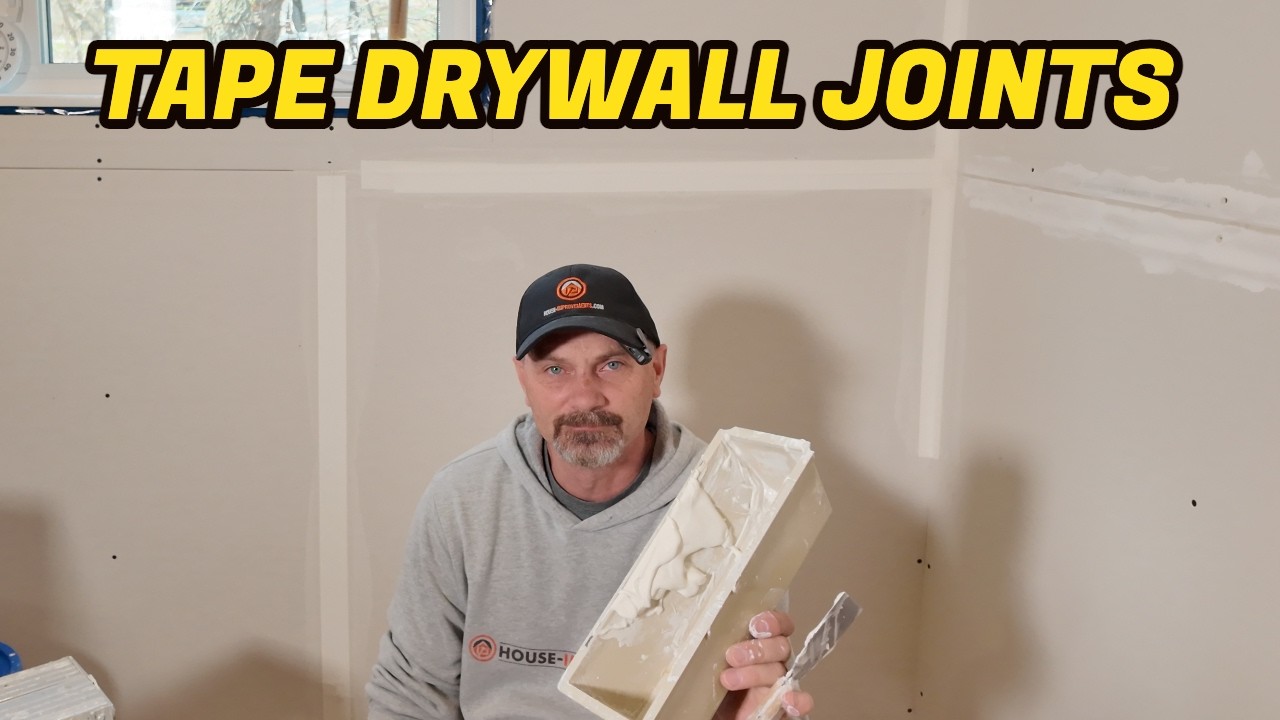
Based on: How To Apply Paper Tape to Drywall Joints by HouseImprovements

How To Apply Paper Tape to Drywall Joints▶ Watch the source video on YouTube

Why You Need This Checklist

Ever stared at a freshly taped drywall joint only to find bubbles lifting off the wall, dry tape peeling away, or muddy messes in your corners? What if you knew the exact sequence a seasoned pro uses every single time — and could just follow it step by step?

Here's the hard truth about drywall taping: most DIYers skip steps they don't know they're skipping. They apply tape in the wrong order, push too hard with the knife, or strip all the mud out from behind the tape — and then wonder why their joints crack or peel months later. A bad taping job doesn't just look wrong; it means sanding, re-mudding, and starting over. That's a full weekend you don't get back.

Now picture this instead: you walk up to a fresh drywall surface with your tape and mud ready, you know exactly which joints to hit first, how much pressure to use, and what the tape should look like when it's set correctly. Your corners are clean, your butt joints are smooth, and your tapered seams lie flat. That's not luck — that's having the right process locked in before you start.

Shannon from HouseImprovements has been sharing professional-grade home improvement techniques for years, and his approach to paper taping is one of the clearest, most practical breakdowns you'll find anywhere. He doesn't just show you what to do — he shows you the order that makes everything easier, the tools that save time (like the taping buddy loaded with tape and mud), and the gentle technique that keeps mud behind the tape where it actually needs to be. He even calls out real mistakes mid-video — like a screw sticking out — so you know what to watch for on your own walls.

This checklist takes everything Shannon demonstrates and turns it into a clean, printable action guide you can bring right to the job site. Every step is in order, every tip is captured, and every common mistake is flagged so you can avoid it before it happens.

Grab this checklist, tape it to your mud bucket, and finally get those joints right the first time.

What's Inside — Preview

Every checklist item comes with actionable notes to guide you — things like "Don't forget to do this before you start," "Avoid this common mistake," or "Set a reminder for 30 days out." Nothing vague, just clear next steps.

BUY Gather your tools: a taping buddy loaded with joint compound and paper tape, a 3-inch taping knife, and a mud tray
PLAN Plan your taping order: start with butt joints, then inside corners, then tapered bevel joints, and finally outside corners
CHECK Before applying any tape, inspect the drywall surface for screws that are not fully set flush or slightly below the surface
DO Pull the length of tape you need from the taping buddy for the butt joint and tear it off cleanly
DO Carry the mud-backed tape to the butt joint and press it onto the wall, using the corner of your tray to hold the top edge in place while you begin your first knife pass

+ 15 more action items inside...
Get the Full Checklist

Instant PDF download. Start taking action today.

$3.99 one-time
Get Instant Access →

✓ Instant download  ·  ✓ PDF format  ·  ✓ No subscription