Why You Need This Checklist
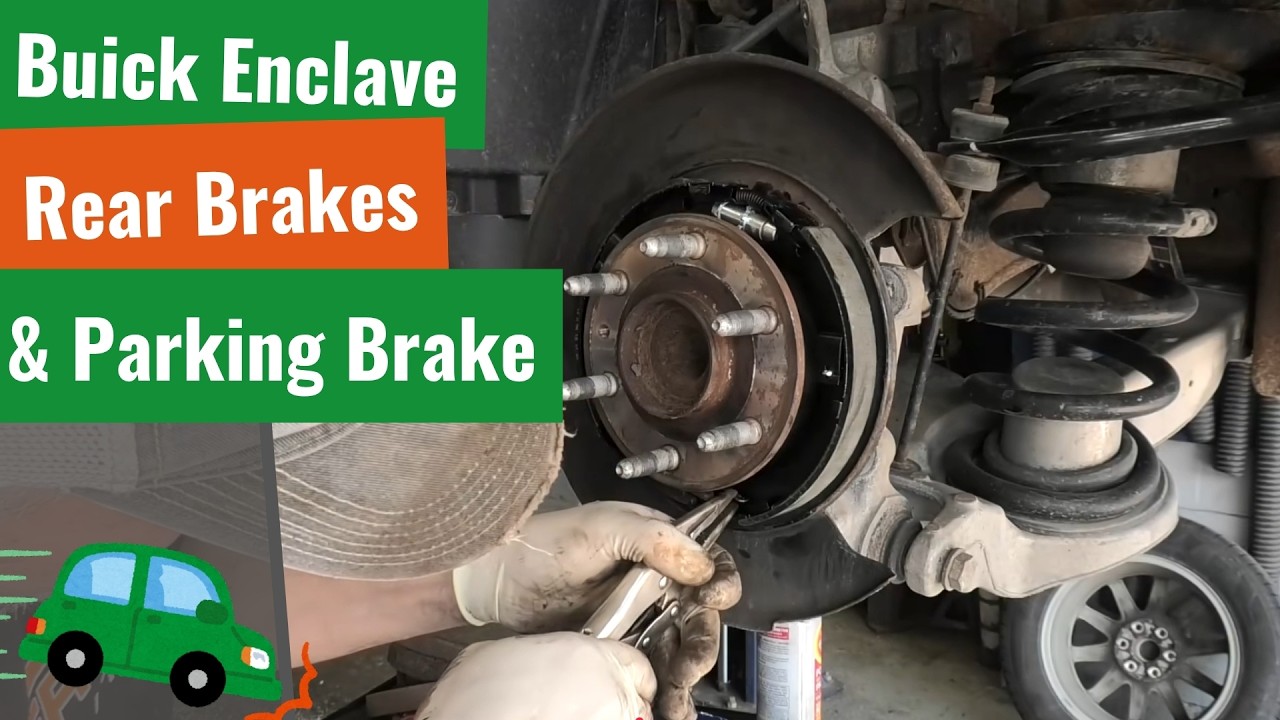
Ever popped off a rear rotor on your Buick Enclave only to find a crumbling mess of rust-jacked parking brake shoes staring back at you — and no idea what to do next? If you've been putting off your Enclave's rear brakes because the job looks complicated, or you've already started and hit a wall, you're not alone. This is one of those jobs where one missed step — like forgetting to back off the adjuster before pulling the rotor, or installing the adjuster threads facing the wrong direction — can turn a two-hour job into a full-day headache.
Here's the thing: rear drum-in-hat brake systems on vehicles like the Buick Enclave are notorious for destroying parking brake shoes through rust jacking and delamination. Most people don't even know their shoes are shot until the rotor won't budge. By the time you realize the problem, you're already mid-job, covered in brake dust, and guessing at spring orientation while a tiny hardware piece pings across the floor.
Imagine finishing this job with confidence — rotors off cleanly, new shoes seated perfectly, adjuster threaded the right direction, caliper pins lubed and torqued, and a parking brake that actually holds. Picture yourself burnishing those new shoes properly on a 30 mph cruise and feeling them grab harder with each pass. That's not a fantasy. That's what this checklist is built to deliver.
South Main Auto LLC — the channel behind this guide — is run by Eric, a working mechanic with decades of real-shop experience. This isn't a theoretical tutorial filmed in a spotless garage. Eric shoots these jobs live, in real time, on actual customer vehicles, calling out every mistake he's made so you don't repeat them. His no-nonsense approach has earned him a massive following of DIYers who trust him precisely because he tells you what goes wrong, not just what goes right.
This PDF checklist distills Eric's full rear brake replacement walkthrough into a clean, step-by-step action guide you can print out and bring right to your driveway. Every tool, every torque sequence, every lubrication point, every common mistake — captured in one place so you're never pausing a video with greasy hands trying to remember what he said three minutes ago. Grab the checklist, follow the steps, and get your Enclave's rear brakes done right the first time.
What's Inside — Preview
Every checklist item comes with actionable notes to guide you — things like "Don't forget to do this before you start," "Avoid this common mistake," or "Set a reminder for 30 days out." Nothing vague, just clear next steps.
BUY
Gather all required tools before starting the job
BUY
Gather replacement parts: rear brake pads, rotors, parking brake shoe kit with hardware, and new adjuster
DO
Lift the rear of the vehicle safely and remove the rear wheels using a 14mm socket
DO
Remove the caliper slide pin bolts using a T30 Torx bit
DO
Remove the caliper bracket using a 21mm socket
+ 30 more action items inside...
 ▶ Watch the source video on YouTube