Why You Need This Checklist
Have you ever looked at a paver walkway and wondered why it looks completely destroyed after just a few years? Uneven stones, giant gaps, weeds pushing through everywhere — and the thing is, it did not have to turn out that way. Most paver failures come down to a handful of foundational mistakes that are almost embarrassingly easy to avoid once you know what they are.
If you have ever started pricing out a paver project — or worse, paid someone to do one and watched it fall apart — you already know the frustration. Water pooling between stones. Frost heaving pavers out of position over winter. Grass and weeds reclaiming ground you spent a weekend preparing. These are not random acts of nature. They are the predictable result of skipping the right steps, using the wrong materials, or just not knowing the correct order of operations. And every one of those problems costs you time, money, and a whole lot of cursing.
Now picture this instead: a clean, level walkway that holds its shape through every season, sheds water properly, stays weed-resistant, and actually looks better with age because it was sealed and finished correctly. That is entirely achievable on a DIY budget, and it does not require special skills — just the right information executed in the right sequence.
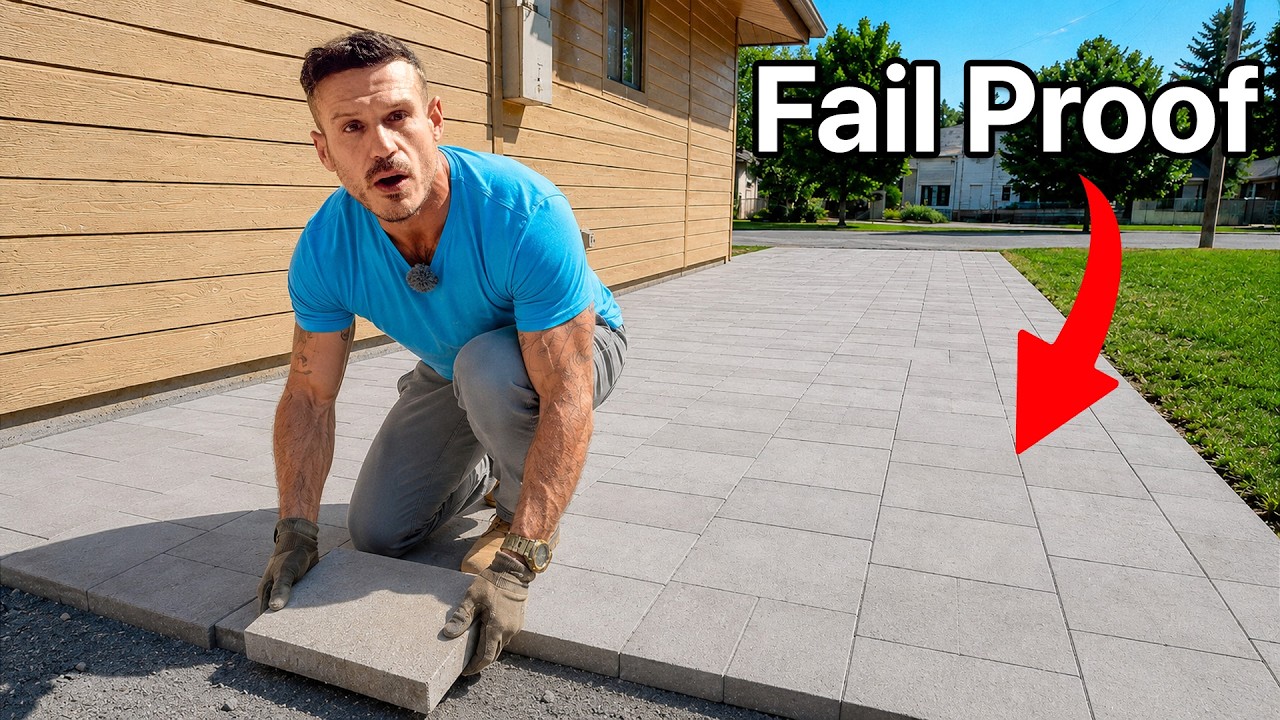
That is exactly what Alex from Mr. Build It delivers in this project. He physically dug up a failed paver path that was only five to ten years old, analyzed every mistake layer by layer, and then rebuilt the entire thing the right way from the ground up. He covers proper excavation depth, why crushed aggregate with sharp edges is non-negotiable for compaction, how to use galvanized pipes for a perfect 1-inch sand screed, the case for polymeric sand over regular sand, why you need a slight slope away from your building, and how sealing with a low-gloss sealer protects everything you just worked so hard to build. He even walks through the border edging system and how to account for natural settling before you set your first paver.
This checklist captures every single actionable step from that video — with specific product names, quantities, pro tips, and common mistakes called out at each stage. You can print it, take it outside, and work through it one step at a time without rewinding a video or second-guessing yourself.
Stop letting bad information cost you a beautiful outdoor space. Grab this checklist and build it right the first time.
What's Inside — Preview
Every checklist item comes with actionable notes to guide you — things like "Don't forget to do this before you start," "Avoid this common mistake," or "Set a reminder for 30 days out." Nothing vague, just clear next steps.
CHECK
Assess and remove the existing failed paver walkway
RESEARCH
Identify the root causes of paver failure in your specific area
PLAN
Plan your walkway dimensions and excavation width generously
CHECK
Locate and mark all sprinkler lines and utility lines before digging
DO
Excavate the area to the correct depth for all your layers
+ 22 more action items inside...
 ▶ Watch the source video on YouTube