Change Your Own Tires at Home: Step‑by‑Step
Save hundreds by mounting and balancing your own tires using basic tools you already own.
Based on: How to Change a Tire At Home (No Expensive Tools) by Budget Mechanic
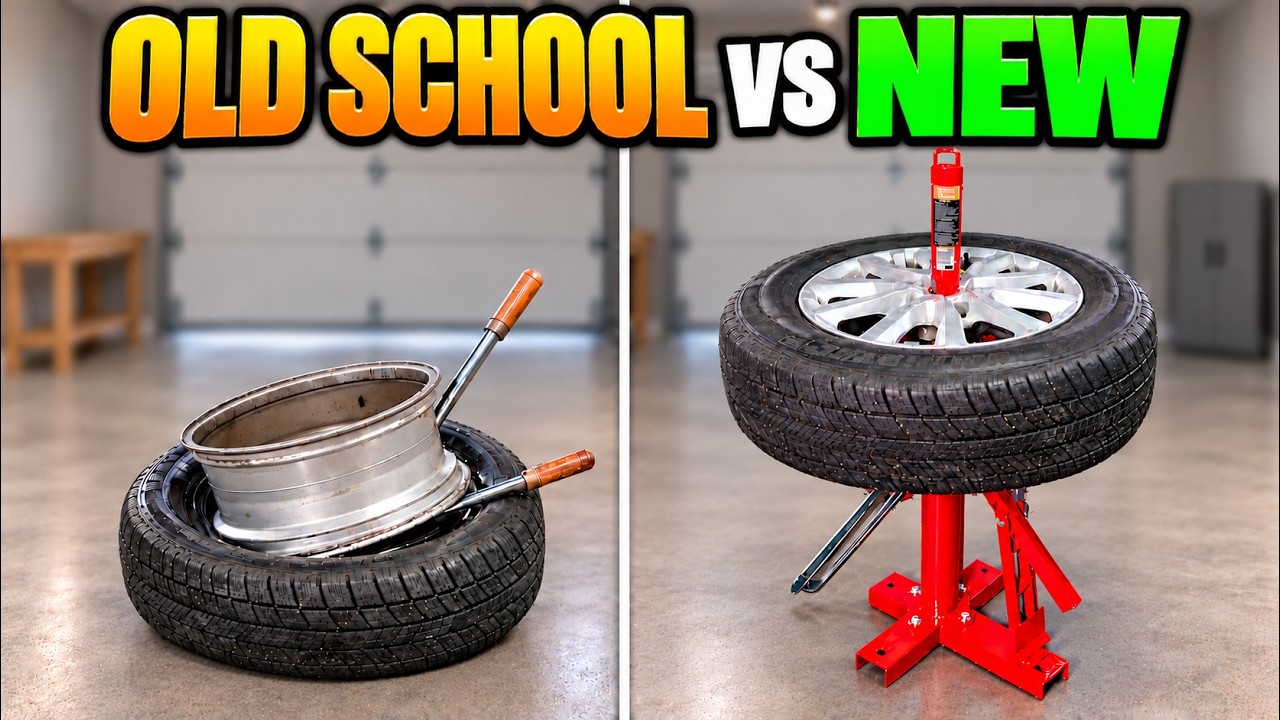 ▶ Watch the source video on YouTube
Save hundreds by mounting and balancing your own tires using basic tools you already own.
Based on: How to Change a Tire At Home (No Expensive Tools) by Budget Mechanic
▶ Watch the source video on YouTube
What if the most expensive part of getting new tires was completely optional? Most drivers hand over their car, wait an hour, and pay a tire shop for a service they could have done themselves in their own driveway — often spending more on labor than the tires themselves.
Here is the reality: tire shops frequently charge $100 per tire for installation. Budget Mechanic discovered this firsthand when a local shop wanted an extra $100 per tire on top of the $100 tires he had already ordered — completely erasing any savings. Add that up over a lifetime of car ownership and you are talking about thousands of dollars paid out for a job that, once you know the steps, is completely manageable at home with tools you likely already have or can pick up for a few dollars.
Imagine being able to order tires directly from Amazon, have them shipped to your door for free, and mount them yourself on a Saturday morning. No appointment. No waiting room. No upselling. You check the directional markings, line up the balance dots, seat the bead, and inflate — all on your own schedule, with your own hands. That is the confidence this checklist gives you.
Budget Mechanic has walked through this process in meticulous detail, testing both the classic screwdriver method and a full suite of newer DIY tools — the bead breaker, tire changing stand, tire spoons, mounting paste, and a static balancer — and has reported honestly on what works, what is worth your money, and what to skip entirely. His hands-on experimentation means you are not learning from theory. You are learning from someone who has already made the mistakes, singed his fingers on brake clean, wrestled with stubborn beads, and figured out what actually gets the job done.
This checklist translates every step of that video into a clean, printable action guide you can take straight to your garage. From bleeding the valve stem and breaking the bead with a car jack, to using soapy water as tire lube, seating the bead with a ratchet strap or brake cleaner, and checking the reference line for a proper seal — every step is here, in order, with specific tips and tool callouts so nothing gets missed.
Grab this checklist, pull up to your workbench, and start saving money on the very next set of tires your car needs.
Every checklist item comes with actionable notes to guide you — things like "Don't forget to do this before you start," "Avoid this common mistake," or "Set a reminder for 30 days out." Nothing vague, just clear next steps.
+ 31 more action items inside...
Instant PDF download. Start taking action today.
✓ Instant download · ✓ PDF format · ✓ No subscription