Why You Need This Checklist
Ever stared at a cast iron drain stack wondering how on earth you're supposed to connect your new bathroom plumbing to it without making an expensive mistake? That moment of uncertainty — not knowing which fitting to grab, what size pipe to run, or whether your toilet is going to end up in the wrong spot — can stall a bathroom remodel for days or even weeks.
Here's the frustrating reality: most DIYers and even newer contractors get tripped up by the small details. They grab the wrong fernco, skip the measurement step for rough-in distance, or run 4-inch pipe where 3-inch would have worked just fine — wasting both money and precious space. Getting your toilet rough-in even half an inch off can mean tearing out drywall later, ordering a specialty toilet, or fighting a code inspection. That's real money and real headaches.
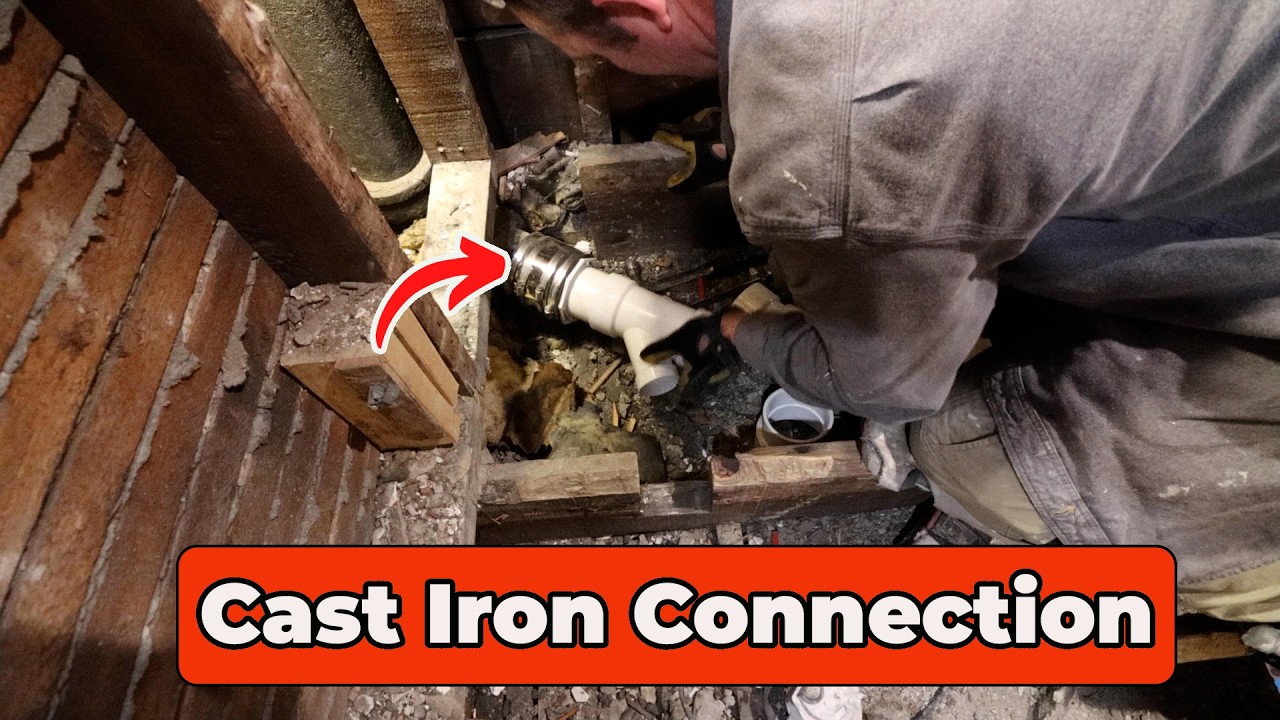
But imagine walking onto your job site knowing exactly which fernco to buy (and why banded is non-negotiable for cast iron), how far to slide that coupling onto each pipe, what pipe size feeds your toilet versus your sink and tub, and how to calculate your rough-in distance before a single piece of drywall goes up. Picture wrapping up your dry-fit layout in one trip, with every fitting in the right place and your measurements locked in.
The Bathroom Remodeling Teacher has walked through this exact scenario on real job sites — not a textbook, not a studio demo — and shared the kind of honest, practical guidance you only get from someone who has felt the pain of being one fitting short on a Friday afternoon. This channel breaks down real plumbing decisions in plain language, including when to adapt on the fly and when to plan ahead so you never have to.
This checklist turns that hands-on video walkthrough into a step-by-step action plan you can hold in your hand at the hardware store and on the job site. It covers choosing and installing a banded fernco on cast iron, sizing pipe runs for multiple fixtures, calculating toilet rough-in clearances, selecting the right reducer fittings, and planning your vent and trap layout — every actionable step from the video, organized so you can check them off as you go. Grab the checklist and get your bathroom plumbing layout done right the first time.
What's Inside — Preview
Every checklist item comes with actionable notes to guide you — things like "Don't forget to do this before you start," "Avoid this common mistake," or "Set a reminder for 30 days out." Nothing vague, just clear next steps.
BUY
Buy a banded fernco coupling rated specifically for cast iron in the correct diameter (4-inch for a 4-inch cast iron stack)
DO
Mark the midpoint of the fernco coupling on your cast iron pipe before sliding it on
DO
Slide the banded fernco onto the cast iron pipe to your marked midpoint, ensuring both rubber bands inside contact the pipe evenly
DO
Tighten fernco band clamps with an impact driver using a 5/16-inch bit once the coupling is positioned correctly
DECIDE
Decide whether to run 4-inch or 3-inch pipe off the cast iron stack based on available space
+ 15 more action items inside...
 ▶ Watch the source video on YouTube