Drop‑In Tub Install: Step‑by‑Step Action Checklist
Install your drop‑in or apron tub correctly the first time with zero costly mistakes
Based on: Drop in Tub Install by Bathroom Remodeling Teacher
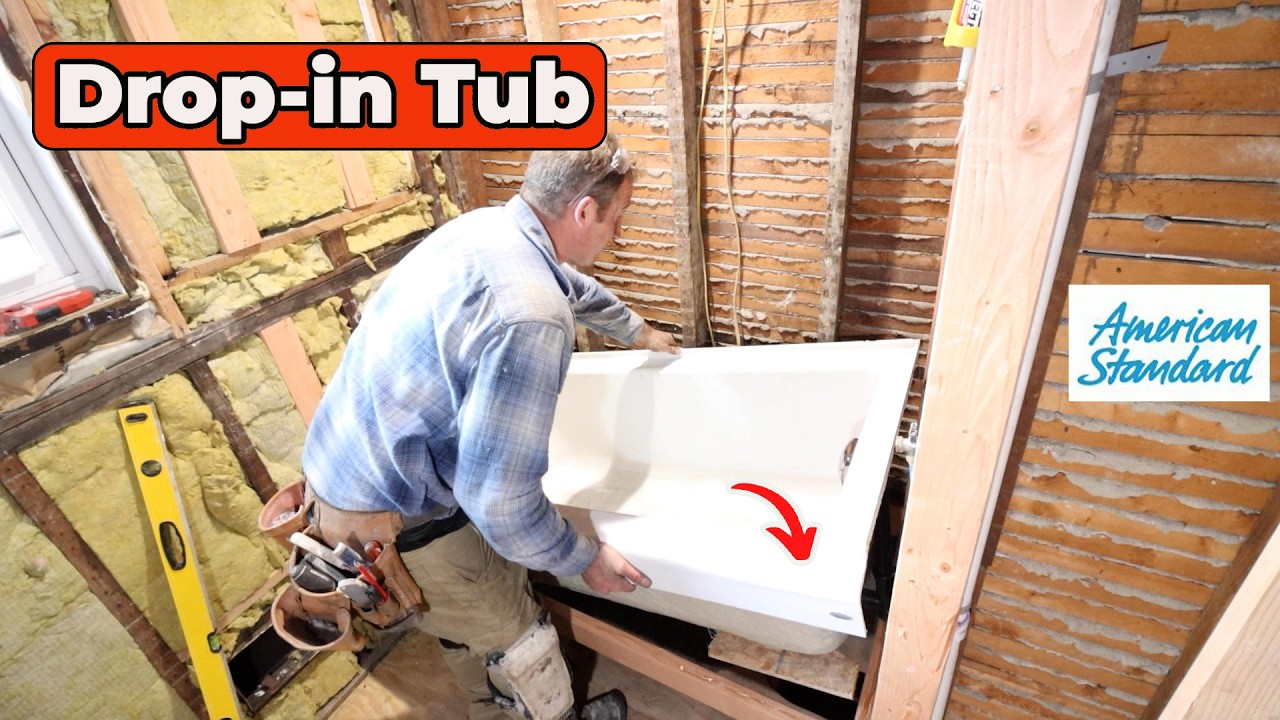 ▶ Watch the source video on YouTube
Install your drop‑in or apron tub correctly the first time with zero costly mistakes
Based on: Drop in Tub Install by Bathroom Remodeling Teacher
▶ Watch the source video on YouTube
What if the most expensive mistake in your bathroom remodel is one you could have avoided in five minutes of reading? Most homeowners assume installing a drop-in tub is just a matter of dropping it into a frame and hooking up the drain. Then they end up with a tub that creaks, a drain that leaks, or tile work that cracks because the framing was wrong from the start. Sound familiar — or worse, is that exactly the situation you are staring at right now?
Here is the truth: drop-in tub installation has a handful of non-obvious decisions that can wreck your entire bathroom if you get them wrong. Should your tub wall extend past the framing or sit flush? How wet should your mortar mix be? Which direction does the drain gasket go? Get any one of these wrong and you are looking at water damage, mold, or a full tear-out. The details matter enormously, and most installation guides skip right past them.
Imagine setting your tub perfectly level on the first try, knowing your drain is sealed with the right silicone and installed in exactly the right orientation, and watching your tile go up cleanly against a properly buffered wall edge. That is the kind of confidence that comes from having the right process written down in front of you before you ever pick up a wrench.
The Bathroom Remodeling Teacher has walked through this exact installation on camera, sharing the kind of field knowledge that only comes from doing this work over and over. From the recommendation to use water-clear 100% silicone that will not yellow, to the specific reason you want your tub sitting at least an inch outside the wall before tiling, to the trick of applying silicone to the ledger board to prevent creaking — every tip in this checklist comes directly from that hands-on experience.
This PDF checklist translates the full video into a clear, step-by-step action guide you can take to the job site. Every step tells you exactly what to do, what to buy, what to check, and what to avoid — so you are not pausing a video with wet hands trying to remember what comes next. Grab the checklist and install your drop-in tub the right way.
Every checklist item comes with actionable notes to guide you — things like "Don't forget to do this before you start," "Avoid this common mistake," or "Set a reminder for 30 days out." Nothing vague, just clear next steps.
+ 19 more action items inside...
Instant PDF download. Start taking action today.
✓ Instant download · ✓ PDF format · ✓ No subscription