Why You Need This Checklist
What if the spongy bathroom floor you've been ignoring is actually a structural time bomb waiting to go off the moment you install that new tub?
Most homeowners don't find out their floor joists are compromised until the tile is already ripped up and they're staring into a hole that's way worse than expected. That moment of dread — when you realize this is bigger than a weekend project — is something the Bathroom Remodeling Teacher knows intimately. He's been there. He's taken down kitchen ceilings, living room ceilings, and bathroom floors to fix what looked like a simple repair on the surface.
Here's the thing: not every damaged joist means a full reconstruction nightmare. In many cases, you can sister a new joist alongside the compromised one, add blocking to support your subfloor at the edges, and get everything level again without ripping out a single ceiling below. But you have to know the difference between a situation you can fix yourself and one that requires full joist replacement from load-bearing wall to load-bearing wall. Get that wrong, and you're looking at a structurally unsound floor under a bathtub filled with water and a person.
Imagine finishing that bathroom knowing the floor beneath it is solid, level, and built right. No bounce, no soft spots, no callbacks. Just a clean subfloor ready for tile and a tub that will sit exactly where it should for the next 60 years.
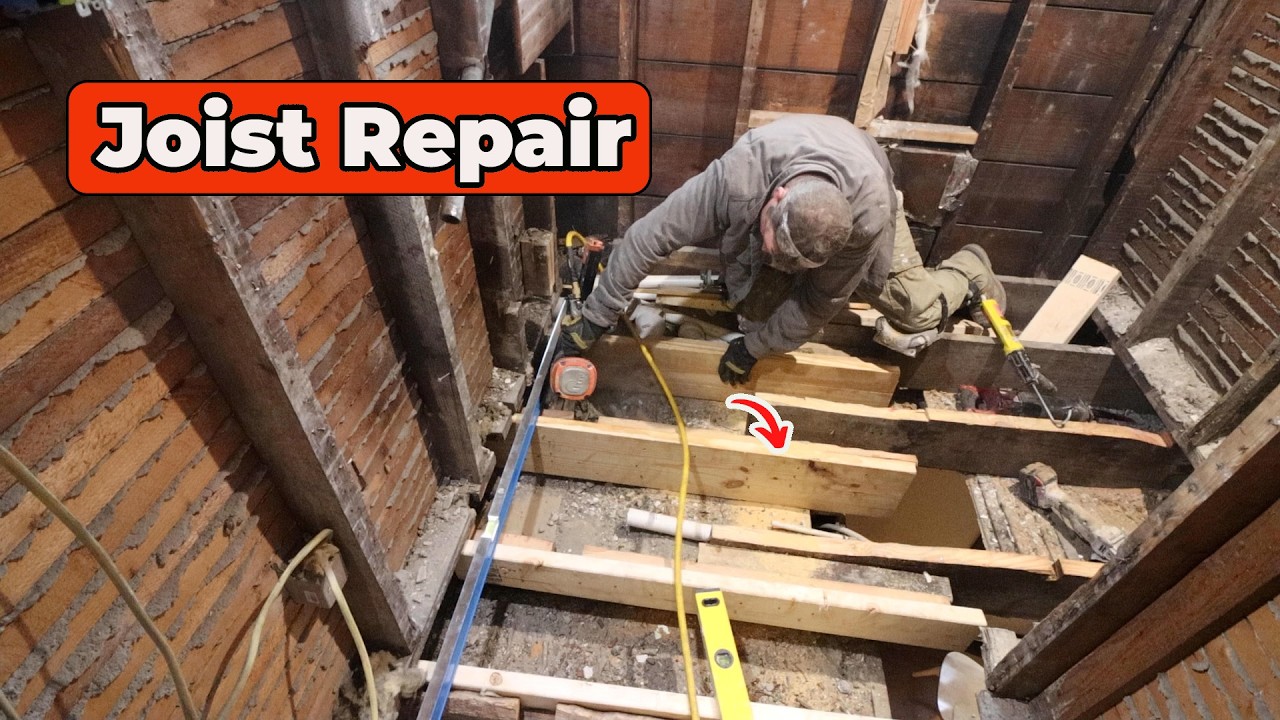
The Bathroom Remodeling Teacher has done this exact repair under real-world conditions — in tight spaces, with plaster lath overhead, concrete subfloors, and load-bearing walls that couldn't be touched. He walks you through every judgment call: when to scab vs. when to sister, when to cut the joist down vs. when to add a ledger board, how to check level in both directions, and how to support plywood edges where the joist doesn't reach.
This checklist turns his hands-on expertise into a clear, step-by-step action plan you can take to the job site. Every step is grounded in what he actually does — not textbook theory. Pick up the checklist, work through it in order, and tackle your bathroom floor joist repair with the confidence of someone who's done it dozens of times.
What's Inside — Preview
Every checklist item comes with actionable notes to guide you — things like "Don't forget to do this before you start," "Avoid this common mistake," or "Set a reminder for 30 days out." Nothing vague, just clear next steps.
DO
Expose the damaged joist fully by removing all tile, concrete, and subfloor material covering it
CHECK
Identify the load-bearing walls on both ends of the damaged joist
DECIDE
Assess the severity of joist damage to decide between sistering, scabbing, or full replacement
DECIDE
Determine whether you need to remove the ceiling below to install full-length replacement joists
MEASURE
Place a 6-foot level across the existing joists to measure how far out of level the floor is
+ 15 more action items inside...
 ▶ Watch the source video on YouTube