Why You Need This Checklist
Ever replaced sensor after sensor on your truck, spent hundreds of dollars at the parts store, and watched the same warning lights pop right back on? You are not alone, and the answer might shock you — it was never the sensors to begin with.
Here is the frustrating reality: when your truck throws codes for the MAP sensor, MAF sensor, or throttle position sensor all at once, it feels like everything is broken. You clear the codes, replace the parts, drive a few miles, and boom — reduced power mode kicks in again. You lose throttle response in the middle of traffic, warning lights flood the dash, and you are left pulling over on the side of the road wondering if your truck is totaled. The worst part? The problem only shows up when the engine gets hot, making it nearly impossible to catch in your driveway.
Imagine driving with full confidence again. No more phantom codes. No more white-knuckling it through left-hand turns because your throttle suddenly cuts out. No more wasted money on sensors that were never the real culprit. Picture handing a repair shop a clear, specific diagnosis — 5-volt reference circuit failure from the ECM — and walking out with a fixed truck instead of another parts receipt.
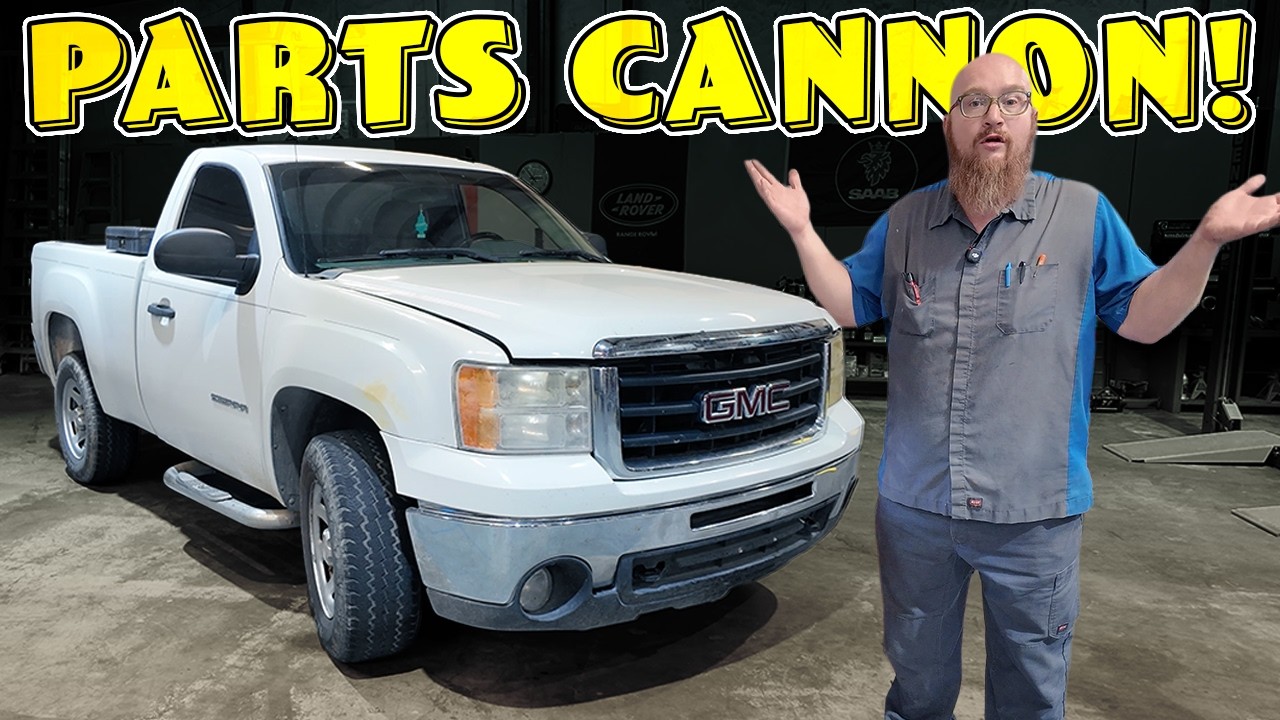
The Car Wizard channel has built a massive following of loyal fans because of exactly this kind of thorough, honest diagnosis. In this case, technician Ronny spent real shop time replicating a frustrating intermittent fault, drove the truck until the problem appeared live, and pinpointed the failure to a tiny internal voltage regulator on the ECM circuit board — verified on Identifix as a known issue on this platform. That is the kind of methodical process that saves you from throwing parts at a ghost.
This checklist walks you through every step of the Car Wizard diagnostic process: reading codes the right way, testing the 5-volt reference signal with a multimeter, replicating heat-soak conditions to expose the fault, confirming ECM failure versus sensor failure, and knowing exactly what to tell a dealer when it is time for reprogramming. Use this checklist whether you are a DIYer trying to avoid a misdiagnosis or a truck owner who wants to walk into a shop armed with real knowledge. Stop replacing sensors. Start diagnosing the source.
What's Inside — Preview
Every checklist item comes with actionable notes to guide you — things like "Don't forget to do this before you start," "Avoid this common mistake," or "Set a reminder for 30 days out." Nothing vague, just clear next steps.
CHECK
Read and record all stored and pending diagnostic trouble codes (DTCs) before replacing any parts
RESEARCH
Identify whether codes are pointing to multiple unrelated sensors simultaneously
LEARN
Learn what the 5-volt reference circuit is and which sensors depend on it
RESEARCH
Locate the 5-volt reference wire at the ECM connector using a wiring diagram for your specific vehicle
CHECK
Inspect the sensor wiring harness for chafing, shorts, bare wires, or corrosion before testing the ECM
+ 15 more action items inside...
 ▶ Watch the source video on YouTube