Fix No Crank No Comm on Duramax Trucks
Diagnose and repair Class 2 data bus ground failures on 2001–2007 GM Duramax trucks step by step.
Based on: 2006 Chevy Duramax NO CRANK, NO COMMUNICATION! | It Came In For An Oil Change! by South Main Auto LLC
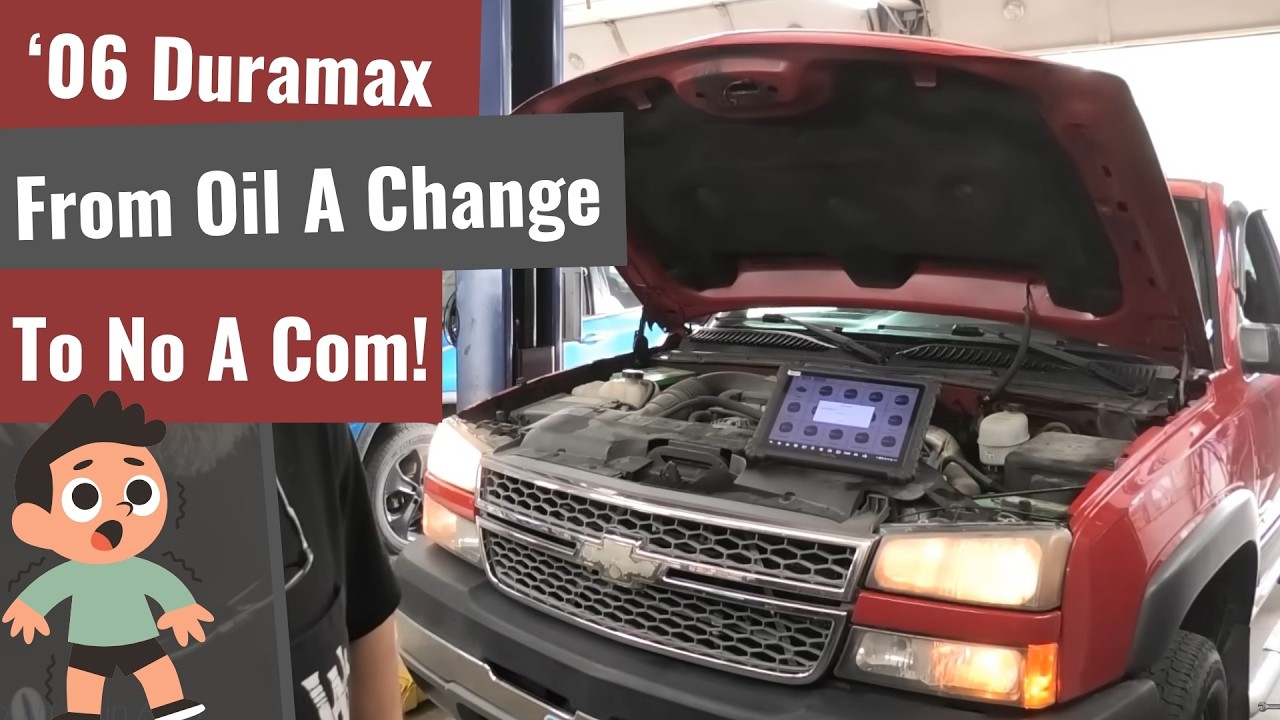
Diagnose and repair Class 2 data bus ground failures on 2001–2007 GM Duramax trucks step by step.
Based on: 2006 Chevy Duramax NO CRANK, NO COMMUNICATION! | It Came In For An Oil Change! by South Main Auto LLC
Your truck was running fine yesterday. Today it won't crank, your scan tool can't talk to the engine or transmission controller, and the PRNDL display is completely dead. Sound familiar? Before you panic and start throwing parts at it — or worse, let someone charge you hundreds of dollars to "clean all the grounds" — there's a fast, data-driven way to find the real culprit in under an hour.
Here's the frustrating truth: on 2001–2007 GM Duramax trucks, a single failed ground eyelet can kill communication to the engine controller, the transmission controller, and the park-neutral switch all at once. The wiring diagram tells you exactly which ground stud is responsible — G102 on the right side of the engine block — but only if you know how to read the clues your truck is already giving you. Dim headlights on one side, no PRNDL indicator, U1000 codes in every module: these aren't random gremlins. They're a roadmap.
Eric O. at South Main Auto LLC walked through exactly this scenario on a low-mileage, 80,000-mile 2005 Chevy 2500 HD that came in for a routine oil change and wouldn't leave. Using a scope to check the Class 2 data line voltage, a wiring diagram to trace G102 and G104 ground locations, and a simple back-probe on the transmission control module connector, he had the truck diagnosed and running before the next appointment. Two crimped eyelets. That's all it took.
This checklist puts that entire process in your hands. You'll know how to scope the Class 2 data bus on pin 2 of the OBD port and instantly recognize an elevated ground signal. You'll know which modules share the same ground stud, where those studs live on the block, and how to confirm a bad eyelet with a test light before you ever pick up a wrench. You'll know the right repair — cutting and re-crimping with heat-shrink eyelets — instead of wasting an afternoon cleaning connections that won't fix anything.
Eric has produced over 1,800 diagnostic videos and his approach is always the same: follow the data, consult the diagram, and move with purpose. No guessing. No shotgun repairs. This checklist distills that exact method into a printable, shop-ready action guide you can follow in your driveway or bay.
Print it out, grab your scan tool and a wiring diagram, and get your truck back on the road today.
Every checklist item comes with actionable notes to guide you — things like "Don't forget to do this before you start," "Avoid this common mistake," or "Set a reminder for 30 days out." Nothing vague, just clear next steps.
+ 15 more action items inside...
Instant PDF download. Start taking action today.
✓ Instant download · ✓ PDF format · ✓ No subscription