Fix P0325 Knock Sensor Code Fast
Diagnose and replace your knock sensor step‑by‑step using Eric the Car Guy's proven method.
Based on: P0325 Knock Sensor Diagnosis and Repair by EricTheCarGuy
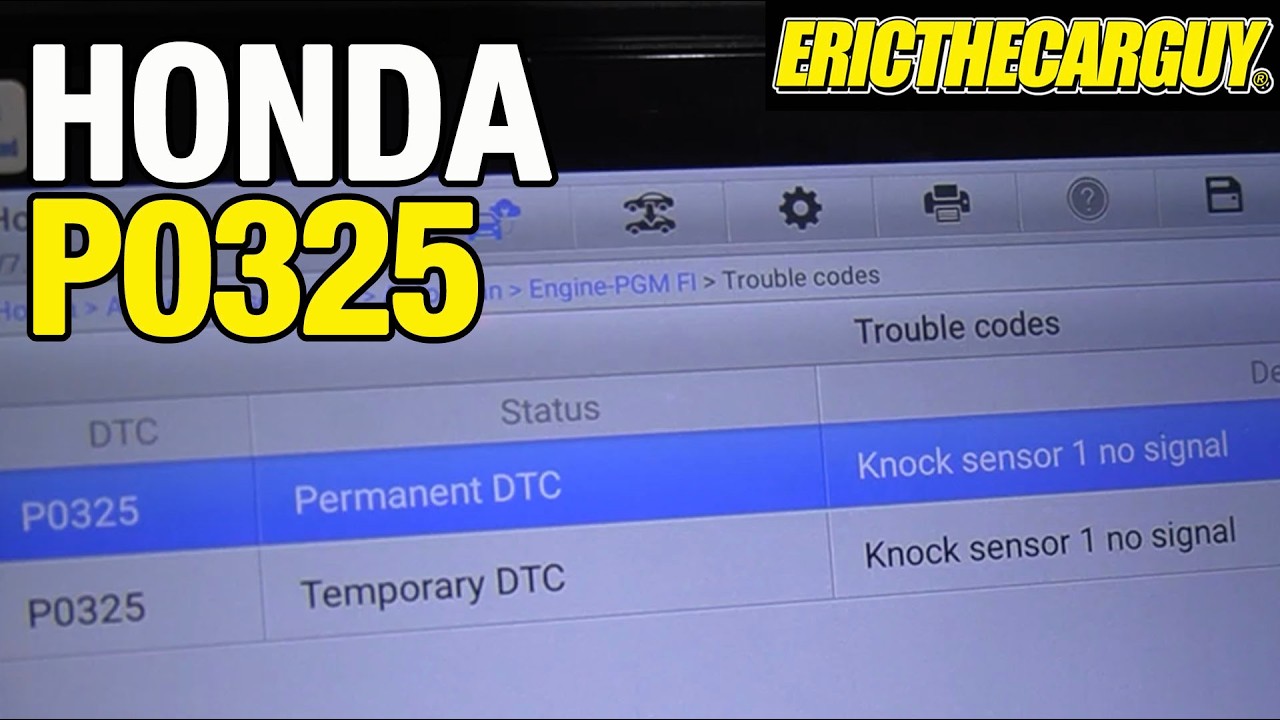 ▶ Watch the source video on YouTube
Diagnose and replace your knock sensor step‑by‑step using Eric the Car Guy's proven method.
Based on: P0325 Knock Sensor Diagnosis and Repair by EricTheCarGuy
▶ Watch the source video on YouTube
Ever stared at a check engine light and wondered if you were about to drop hundreds of dollars at the shop — only to find out the fix was something you could handle yourself with a few basic tools? That nagging P0325 code sitting on your dash right now is exactly that kind of problem, and Eric the Car Guy has already done the hard work of figuring it out so you don't have to.
Here's the thing about knock sensor codes that most people don't realize: the sensor itself is often not the problem. The wiring, the connector, and even corrosion in the harness can throw the exact same code. If you just swap the sensor without checking these things first, you could spend money on a part you didn't need and still have the same light staring back at you. That's a frustrating and expensive mistake, and it happens all the time.
Imagine instead clearing that code for good, knowing exactly what was wrong, and driving away with a smooth idle and functioning air conditioning — because yes, a bad knock sensor can cause rough idling and other drivability issues too. Picture the satisfaction of having diagnosed the problem methodically, confirmed the wiring was good, tapped the block to test the sensor, installed the replacement correctly using a simple rubber hose trick to reach the awkward location, and verified live data on a scan tool showing the sensor is actually working. That's the outcome this checklist is built to give you.
Eric the Car Guy has been one of the most trusted names in DIY automotive repair on YouTube for years, with millions of subscribers who rely on his clear, no-nonsense approach to real-world car problems. In this particular repair on his 2006 Honda CRV used car project, he walks through every single diagnostic step — from pulling live scan tool data, to checking continuity with a multimeter, to using a seam ripper to open the wiring harness, to the 27mm socket and rubber hose trick that makes sensor access actually manageable. His approach is honest about the dead ends too, which is exactly what makes it trustworthy.
This checklist captures every one of those steps in clean, actionable order so you can work through the repair confidently with your phone or a printed sheet sitting right next to you in the garage. Follow each step, use the right tools, and you will know whether your problem is the wire, the connector, or the sensor — before you spend a dollar on parts. Grab the checklist and get that check engine light off for good.
Every checklist item comes with actionable notes to guide you — things like "Don't forget to do this before you start," "Avoid this common mistake," or "Set a reminder for 30 days out." Nothing vague, just clear next steps.
+ 20 more action items inside...
Instant PDF download. Start taking action today.
✓ Instant download · ✓ PDF format · ✓ No subscription