Why You Need This Checklist
Have you ever walked out to your garage and noticed a slick little puddle forming right under the rear of your CR-V? You crouch down, wipe it with your finger, and sure enough — it's gear oil. That sinking feeling hits fast. Is this a big repair? How long can you drive it? What if you ignore it?
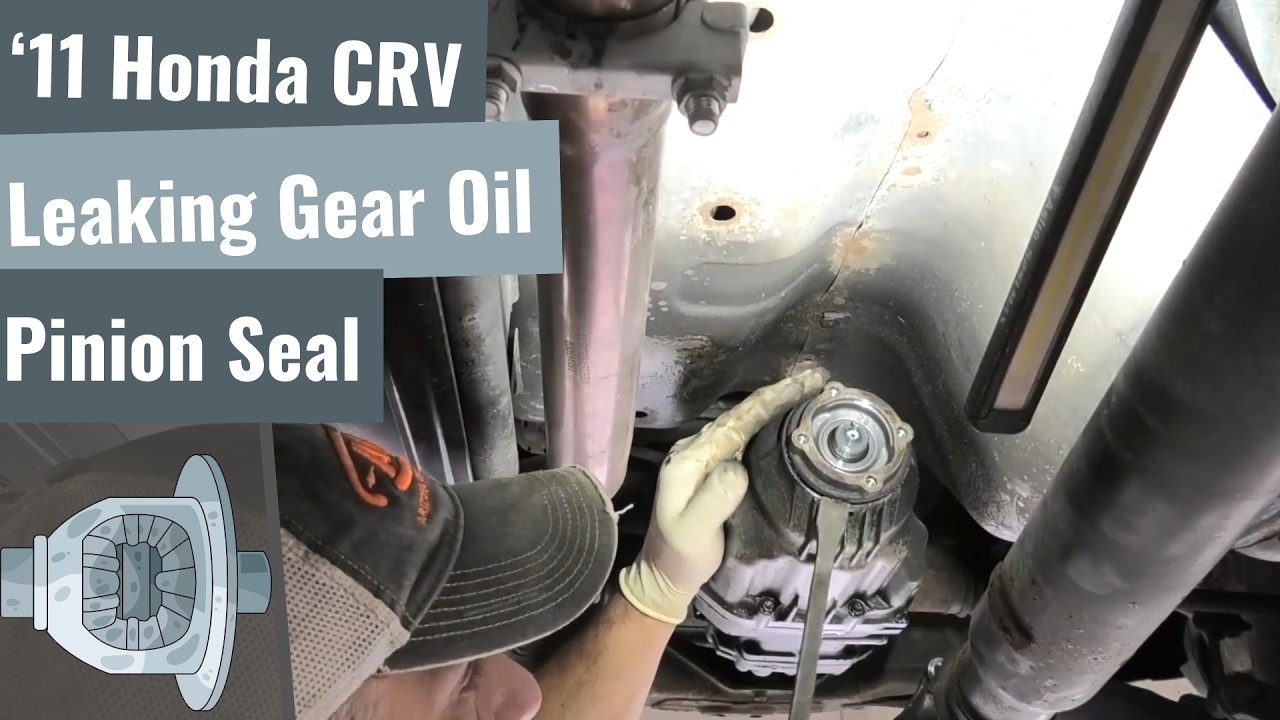
Here's the thing about a leaking rear pinion seal on a 2011 Honda CR-V: it looks intimidating, but it's one of those jobs that's completely within reach if you have the right roadmap. The problem is, most how-to content leaves out the critical details — the specific seal design on Honda's dual pump system, the nylon spacer that hides behind the yoke washer, the staked nut that will absolutely strip your threads if you don't deal with it first, and the Honda-specific dual pump fluid you must use during the refill. Miss any one of those, and a simple afternoon job turns into a headache.
That's exactly why this checklist exists. Eric over at South Main Auto LLC — a working shop mechanic with decades of hands-on experience — walked through this exact repair on a real customer's 2011 CR-V with a real oil leak. He caught every hidden detail that most DIYers stumble over: the stake in the pinion nut, the O-ring and nylon spacer in the yoke, the ball bearing setup unique to Honda's dual pump differential, and even the importance of checking your differential vent line before buttoning everything up. Real shop knowledge, no fluff.
Imagine finishing this job yourself. The rear diff is refilled with the correct Honda Dual Pump Fluid, the vent hose is clear, the new seal is seated perfectly, the nut is torqued and re-staked, and you pull out of the driveway for a test drive knowing you just saved yourself a shop bill. That puddle on the garage floor? Gone for good.
This checklist turns Eric's expert walkthrough into a clean, printable action plan you can take straight to the driveway. Every part you need, every torque spec, every tool, every trap to avoid — organized in the exact order you need to do them. Whether this is your first seal job or your tenth, having a proven checklist means you don't have to pause the video seventeen times or second-guess yourself mid-repair.
Get the checklist, grab your parts, and fix that leak today.
What's Inside — Preview
Every checklist item comes with actionable notes to guide you — things like "Don't forget to do this before you start," "Avoid this common mistake," or "Set a reminder for 30 days out." Nothing vague, just clear next steps.
BUY
Gather all required replacement parts before starting the job
BUY
Purchase Honda Dual Pump Fluid for the rear differential refill
DO
Place the vehicle in neutral and connect a battery tender
DO
Raise and safely support the rear of the vehicle
CHECK
Inspect the leak source visually before disassembly
+ 21 more action items inside...
 ▶ Watch the source video on YouTube