Why You Need This Checklist
Ever turned on your car's heat or AC and heard a weird noise — then nothing? That silence is your blower motor telling you it's done. And if you ignored the noise for a few days hoping it would go away, you might be in for a bigger surprise than you think. Rodents, nuts, leaves, cigarette wrappers — it doesn't take much to destroy a blower motor from the inside out, and most people have no idea until the whole thing seizes.
Here's the uncomfortable truth: a blower motor that's making noise is already failing. Every mile you drive it that way, friction builds, heat builds, and eventually — like the 2020 Toyota RAV4 that rolled into South Main Auto LLC — the housing actually melts from the inside. What could have been a quick $50 inspection turns into a $300+ part replacement plus labor. That's the cost of waiting.
But imagine this instead: you hear a rattle from your dash vents, you pull out this checklist, and within an hour you've identified the problem, sourced the right part, cleared out whatever debris found its way in, swapped the cabin filter, and confirmed everything is working across all fan modes. No dealership markup. No guessing. Just a clean, methodical process that puts you back in control.
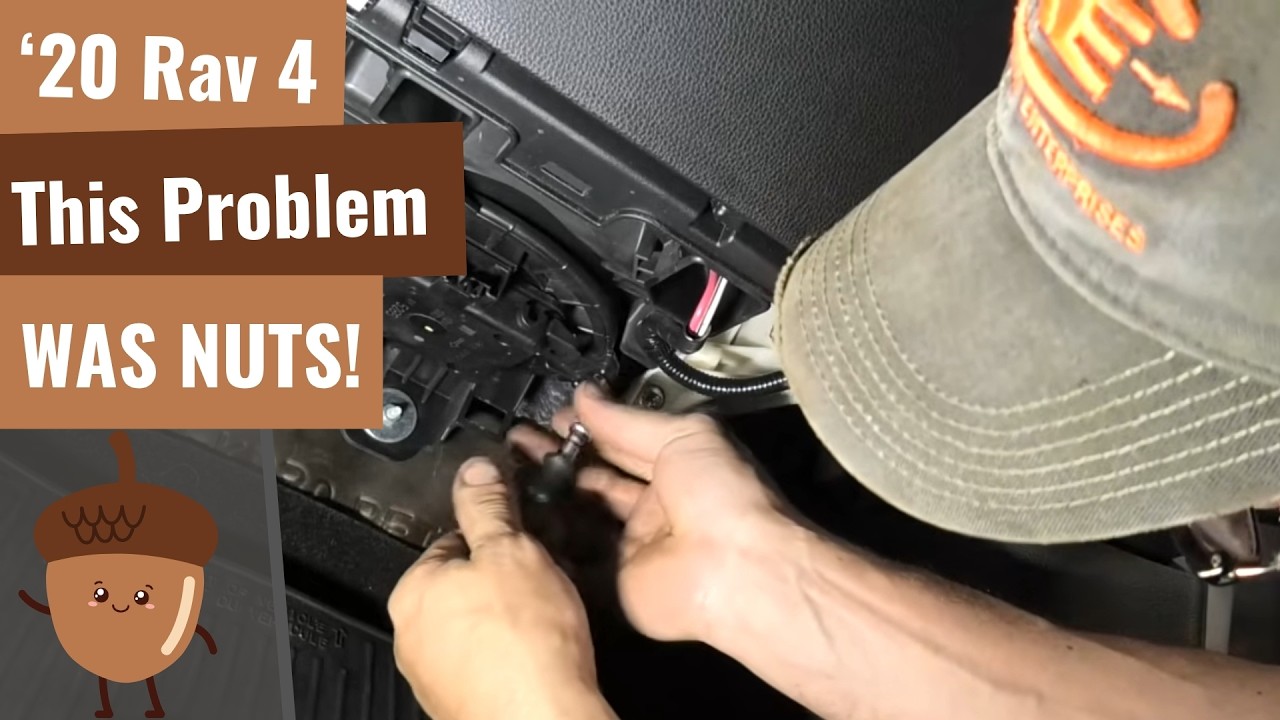
Eric at South Main Auto LLC has been turning wrenches and teaching real-world diagnostics to hundreds of thousands of viewers — and his approach is refreshingly honest. No fluff, no upselling, just the actual process a seasoned mechanic uses in the shop. In this video, he walks through exactly how he diagnosed a completely dead blower motor on a 2020 RAV4, discovered a rodent nest packed with nuts had jammed the fan, melted the housing, and chewed through the cabin air filter — and how he fixed it efficiently without unnecessary guesswork.
This PDF checklist captures every actionable step from that diagnosis and repair, organized so you can follow along in your own driveway or garage. From the initial power-on test to swapping the blower motor, clearing debris, replacing the cabin filter, and verifying airflow across all modes — it's all here, with specific tool callouts, part sourcing tips, and warnings about what to watch for.
Whether you're a weekend DIYer or just someone who wants to understand what's happening before you hand your keys to a shop, this checklist gives you the confidence to act fast and act smart. Don't wait until the noise stops on its own — because when it does, it means the motor already has.
What's Inside — Preview
Every checklist item comes with actionable notes to guide you — things like "Don't forget to do this before you start," "Avoid this common mistake," or "Set a reminder for 30 days out." Nothing vague, just clear next steps.
CHECK
Turn the key to the 'on' position and listen carefully to the blower motor before touching anything
PLAN
Read the customer's written description of the problem before diagnosing — use it to pre-order likely parts
CHECK
Locate the blower motor under the passenger-side dash — look for the round housing unit with the attached controller
DO
Perform a quick plug-in test with the new blower motor before fully committing to installation
CHECK
Check power and ground at the blower motor connector if the plug-in test shows the new motor also does not run
+ 11 more action items inside...
 ▶ Watch the source video on YouTube