Why You Need This Checklist
Have you ever stared at a freshly tiled wall and wondered if you're about to ruin it with a bad grout job? That moment of hesitation — where you're not sure how much water is too much, whether the joints are filled enough, or how to avoid that stubborn haze — is exactly where most DIYers get stuck.
Grouting looks simple on the surface, but the details matter. Use too much water on your sponge and you wash out the joints. Skip the grout release and you're scrubbing haze off high-gloss tile for hours. Apply the wrong type of grout for your color and you're fighting stains within months. These are the kinds of mistakes that turn a satisfying project into a frustrating redo — and nobody has time for that.
Imagine instead stepping back from your tub surround and seeing perfectly filled, flush grout joints with zero haze, clean corners, and a professional finish that looks like it cost twice what you paid. That's exactly what this checklist helps you achieve. The process is genuinely straightforward when you know the sequence, the right tools, and the small but critical details that pros use every single time.
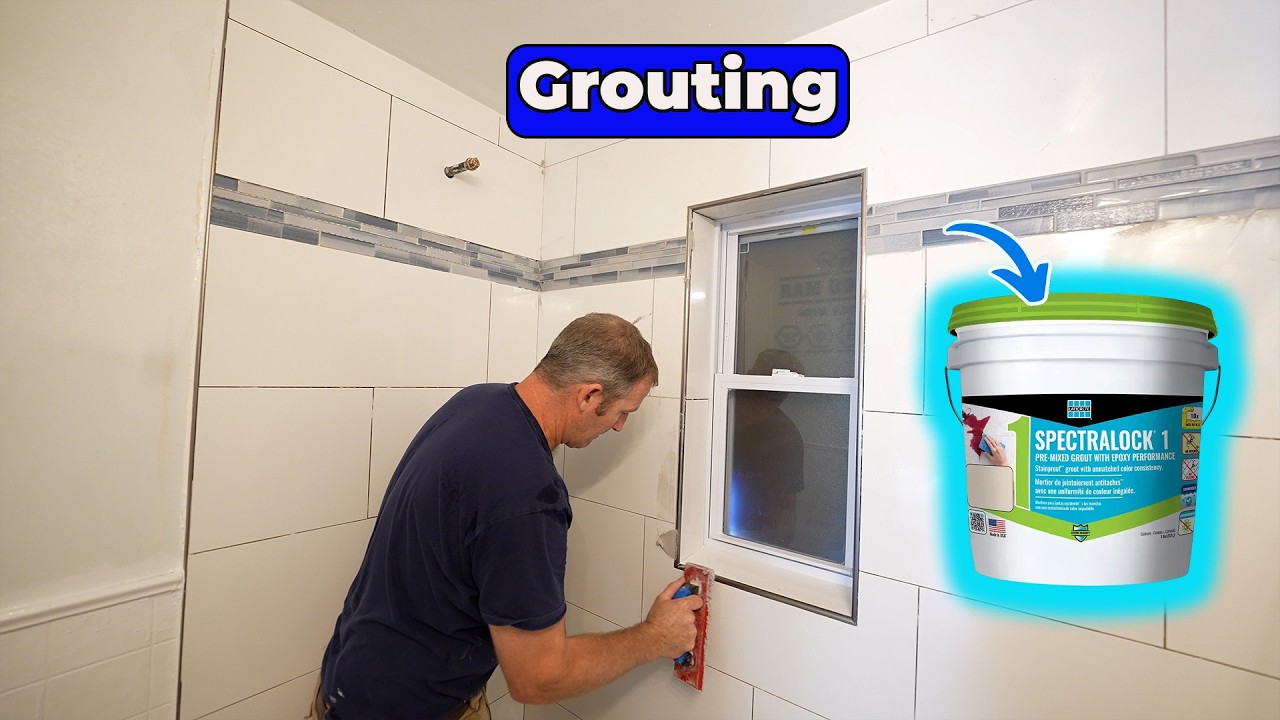
The Bathroom Remodeling Teacher has been through this process on job after job, and this video breaks down exactly why Laticrete Spectralock Pre-mix grout is one of the most DIY-friendly grout options available — especially for gray or darker colors. The channel's hands-on, no-fuss approach cuts through the noise and gives you only what you actually need to know, including when to use a different product entirely (hint: white grout has a different answer).
This PDF checklist distills every step from the video into a clear, action-by-action guide you can print out and take to your bathroom. From gathering your tools — the right grout float, the right sponge, and the right finishing products — through applying, wiping, waiting, and final haze removal, every step is covered with the specific tips and warnings that make the difference between a good result and a great one. It even covers what to do if you wash out a joint, how to handle corners and windows with caulk, and when to do your final Windex wipe-down. Stop second-guessing and start grouting with confidence.
What's Inside — Preview
Every checklist item comes with actionable notes to guide you — things like "Don't forget to do this before you start," "Avoid this common mistake," or "Set a reminder for 30 days out." Nothing vague, just clear next steps.
BUY
Gather your supplies before you start: grout float, Artex sponges, Windex with vinegar, and microfiber cloths
BUY
Purchase Laticrete Spectralock Pre-mix Grout in your desired color (gray or darker shades recommended)
DECIDE
Decide whether to use epoxy grout instead if your grout color is white or light beige
DO
Apply grout release over the entire tile surface 30 minutes before you begin grouting
WAIT
Wait 30 minutes after applying grout release before beginning to grout
+ 19 more action items inside...
 ▶ Watch the source video on YouTube