Why You Need This Checklist
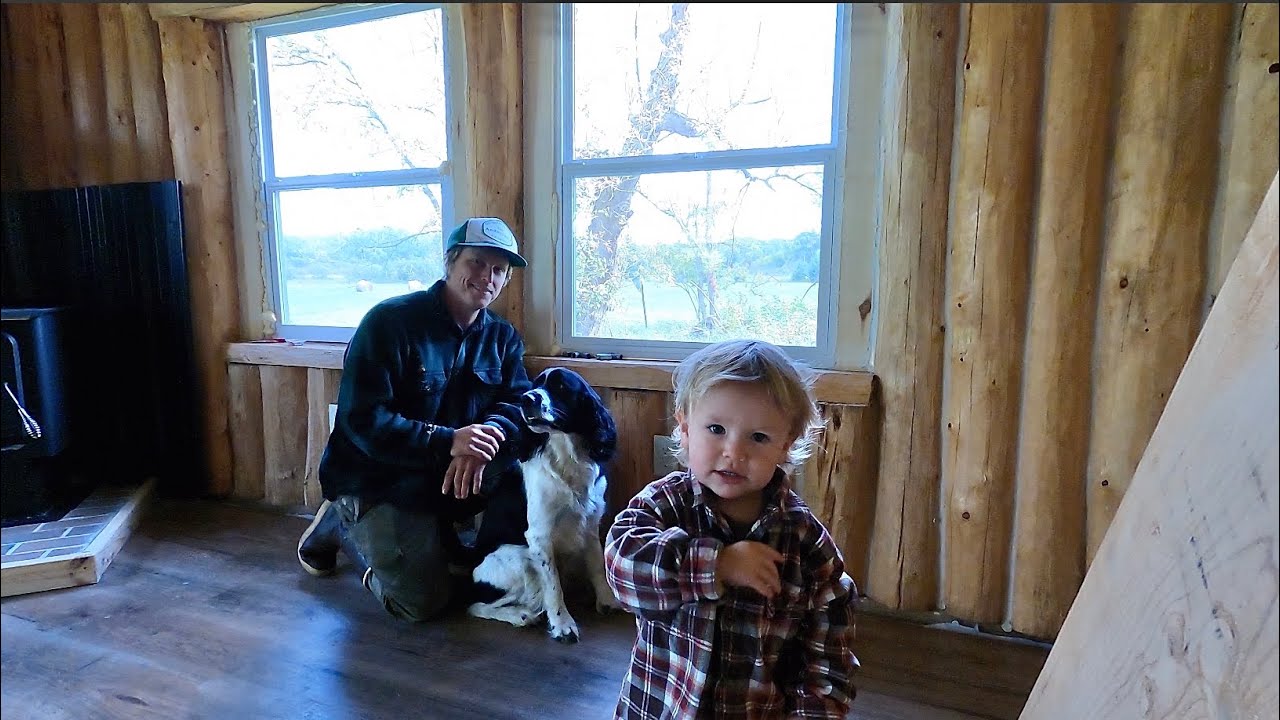
What separates a drafty log cabin from a warm, airtight home your family can actually live in year-round? The answer might surprise you — it's not the logs, it's what goes between them. If you've been staring at gaps in your log walls wondering how bad the heat loss really is, or you've been putting off the chinking job because you're not sure where to start, you're not alone. Most first-time log home builders underestimate how much those unsealed gaps cost them in comfort and energy every single winter. Kyle from KYLES CABIN is building the real thing — not a weekend project, not a seasonal camp. A full log cabin home where he plans to raise his family for the rest of his life. That kind of commitment means no shortcuts. And when it came time to seal his logs and finish his wood stove hearth, he documented every decision, every product, and every technique so you don't have to figure it out the hard way. Imagine your log walls fully sealed — no cold drafts sneaking through at night, no fiberglass insulation poking out at the seams, and a clean, professional chinking line that blends so naturally with your logs that guests won't even notice it's there. Picture your wood stove sitting on a solid, properly mortared brick hearth that looks like it belongs in the cabin, not like an afterthought. That's exactly what Kyle achieved, and this checklist captures every step he took to get there. From choosing the right chinking product (and why Log Jam at $300 per five-gallon pail is worth every penny over moss, foam, or mud alternatives) to the backer rod technique that gives you a tight seal on wider gaps, to the wet mortar sponge trick that fills brick joints beautifully — it's all here, organized so you can work through it in order without missing a thing. Kyle rates chinking a two out of ten for fun, but a ten out of ten for results. This checklist won't make the job more exciting, but it will make sure you do it right the first time and don't have to redo it later. Use this PDF checklist to tackle your log cabin chinking and brick hearth installation with confidence, using the exact products, techniques, and sequencing Kyle used on his own family home.
What's Inside — Preview
Every checklist item comes with actionable notes to guide you — things like "Don't forget to do this before you start," "Avoid this common mistake," or "Set a reminder for 30 days out." Nothing vague, just clear next steps.
BUILD
Lay mortar bed and set bricks for the wood stove hearth
DO
Mix a wet, liquidy batch of mortar and apply it over the entire brick surface to fill joints
DO
Sponge off excess wet mortar from the brick surface using a damp sponge and bucket of water
BUILD
Lift the wood stove and place blocks underneath to raise it so the brick hearth sits flush with the stove bottom
DECIDE
Plan to stain the wood border surrounding the brick hearth to match the surrounding plywood flooring
+ 16 more action items inside...
 ▶ Watch the source video on YouTube