Why You Need This Checklist
Ever stared at a log wall and wondered how you're supposed to run electrical without ruining the look you've worked so hard to achieve? If you've been piecing together tips from random forums or settling for ugly surface-mounted conduit, you already know how fast a beautiful log cabin interior can start to look like an afterthought. There's a better way, and Kyle from KYLES CABIN has already figured it out the hard way so you don't have to.
Here's the problem most log cabin builders face: standard electrical installation methods simply don't work on vertical log walls the way they do on framed walls. You can't just staple wire along a stud bay and call it done. Surface-mount metal boxes stick out like a sore thumb, conduit ruins the rustic aesthetic, and pre-notching during construction is only practical if you built horizontally. If you're in the middle of a build — or finishing one — and you're staring at logs wondering what to do next, this is the exact situation Kyle found himself in.
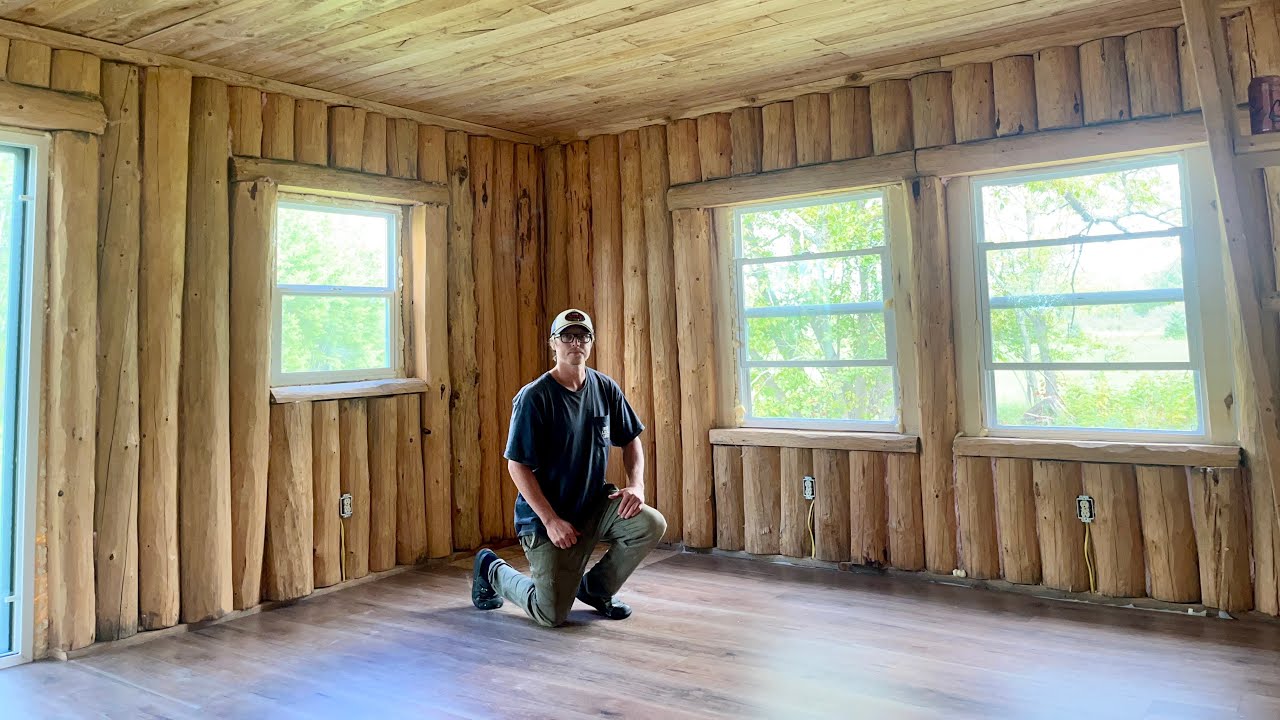
Now picture this: every outlet and switch on your log walls sits perfectly flush, recessed neatly into the wood. Chinking seals up the gaps, wires disappear behind it, and your faceplates lie flat against the logs like they were always meant to be there. No conduit. No exposed wire. No compromise on the look you envisioned. That's exactly what Kyle achieved on his family's cabin, and he documented every step so you can replicate it.
Kyle isn't a contractor selling a course — he's a real person building a real home for his family, problem-solving in real time on camera. That authenticity is exactly why his approach is so trustworthy. He tested multiple methods, landed on the combination of a large spade bit, a multi-tool, and a chisel, and refined the process across every single outlet and switch in the main level of his cabin. He also solved the tricky problem of thick Tamarack accent walls requiring box extensions, and figured out how to handle the oversized gaps left by the key log. This is hard-won, hands-on knowledge.
This checklist translates everything Kyle demonstrates into a clear, sequential action plan you can take to your own build site today. From selecting the right tools to managing wire concealment with chinking and spray foam, every step is laid out so you can work confidently and efficiently. Stop guessing and start building. Grab the checklist and get your electrical looking as good as your logs.
What's Inside — Preview
Every checklist item comes with actionable notes to guide you — things like "Don't forget to do this before you start," "Avoid this common mistake," or "Set a reminder for 30 days out." Nothing vague, just clear next steps.
DECIDE
Decide whether to surface-mount electrical boxes or notch them flush into the log wall
PLAN
Plan outlet and switch locations on each log wall before cutting anything
CHECK
Identify which walls require box extensions due to thick surface material
BUY
Gather tools needed for notching: large spade bit, multi-tool, and wood chisel
MEASURE
Mark the exact box outline on the log face at the correct outlet or switch height
+ 20 more action items inside...
 ▶ Watch the source video on YouTube