Why You Need This Checklist
Have you ever opened the door to your shipping container and been hit with a wall of heat so intense it felt like stepping into an oven? If you use a container as a shop, garage, or storage unit, you already know that feeling — and you know it's not just uncomfortable, it's potentially dangerous for your tools, your vehicles, and anything sensitive to extreme heat and humidity.
Here's what most container owners don't realize: that heat problem is almost entirely solvable with one afternoon of work and a single product that costs a fraction of what you'd spend on any HVAC solution. The surface of an unpainted metal container roof can reach temperatures that will literally burn your hand on contact. That kind of heat radiates straight down into your space, degrading fuel, warping materials, rusting tools faster, and making it completely miserable to work in — or even just store things in.
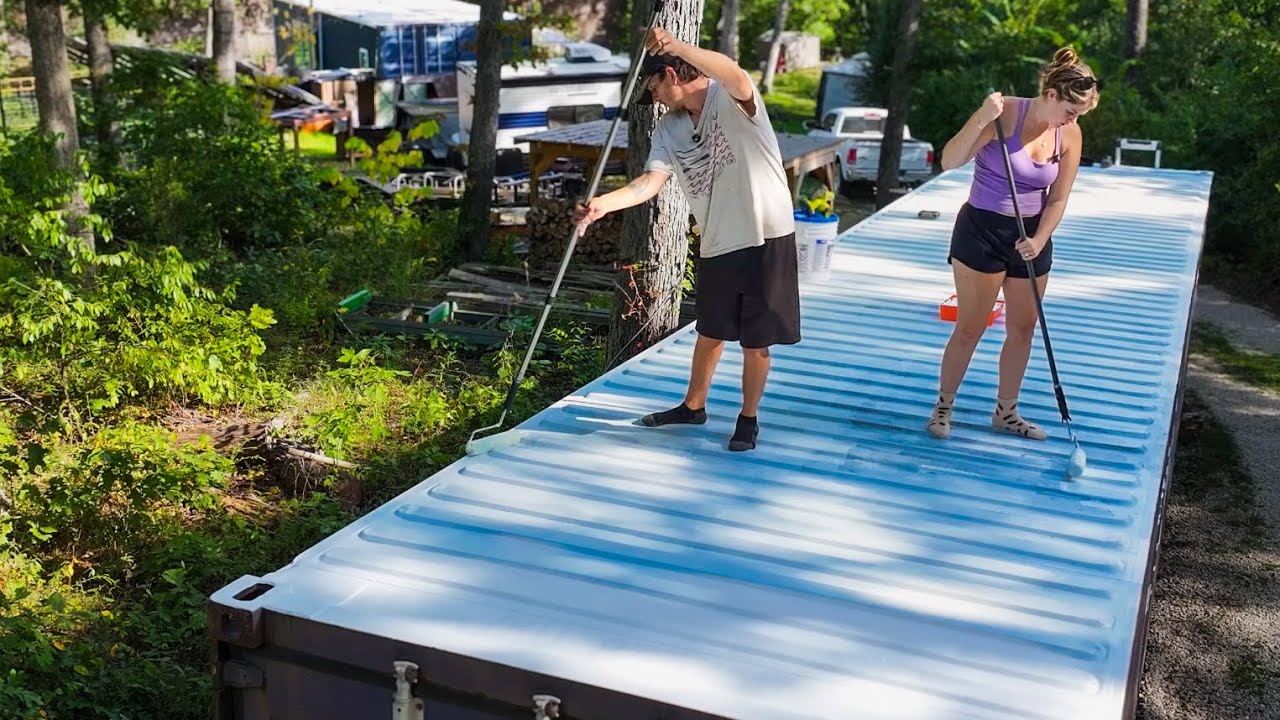
Now imagine walking up to your container the next morning, pressing your palm flat on the roof, and feeling it barely warm to the touch. That's exactly what Summer and Cody from the Can't Contain Us channel experienced the day after applying elastomeric roof coating to their off-grid container shop. Before the coating, direct sunlight made the roof untouchable. After two coats? Barely warm. The interior temperature difference was dramatic enough that Cody noticed it immediately in his primary shop container — and regretted not doing the second one sooner.
They've now done this on every container they own, including their off-grid house, and the process is straightforward enough to complete in a single day. Summer and Cody document everything honestly — including the mistakes they made so you don't have to repeat them, like skipping the direction change on the second coat or not budgeting your time to get that final coat on at least two hours before dark.
This checklist takes everything they did and learned on camera and turns it into a clean, actionable sequence you can follow from prep to final inspection. You'll know exactly what product to buy, how to prep the surface, how to handle rust spots, how to store your rollers between coats, and what the finished roof should look and feel like. Whether you're protecting a shop full of project vehicles or just trying to keep your off-grid storage from becoming a sauna, this checklist gives you the confidence to get it done right the first time. Pick up your roller and let's get to work.
What's Inside — Preview
Every checklist item comes with actionable notes to guide you — things like "Don't forget to do this before you start," "Avoid this common mistake," or "Set a reminder for 30 days out." Nothing vague, just clear next steps.
CHECK
Assess your container roof for rust spots, paint condition, and overall surface contamination before scheduling your paint day
DO
Power wash the entire container roof thoroughly the day before you plan to paint
WAIT
Allow the power-washed roof to dry completely overnight before applying any coating or primer
BUY
Purchase elastomeric roof coating in sufficient quantity to cover your container roof with two full coats
BUY
Purchase a rust-inhibiting metal primer for spot treatment of any visible rust areas
+ 14 more action items inside...
 ▶ Watch the source video on YouTube