Why You Need This Checklist
What if the messiest part of tiling a shower floor — cleaning thin set out of hundreds of tiny penny tile joints — was completely eliminated? That question stopped a lot of DIYers in their tracks, and the answer turns out to be simpler than anyone expected.
If you've ever tried to install mosaic or penny tile on a shower floor, you know the frustration. Thin set oozes up between the joints, hardens fast, and then you're down on your hands and knees picking it out of every tiny gap before it locks in permanently. One wrong move and you're looking at a grout job that looks patchy, uneven, or just plain amateur. It's the kind of problem that turns an exciting project into an exhausting one.
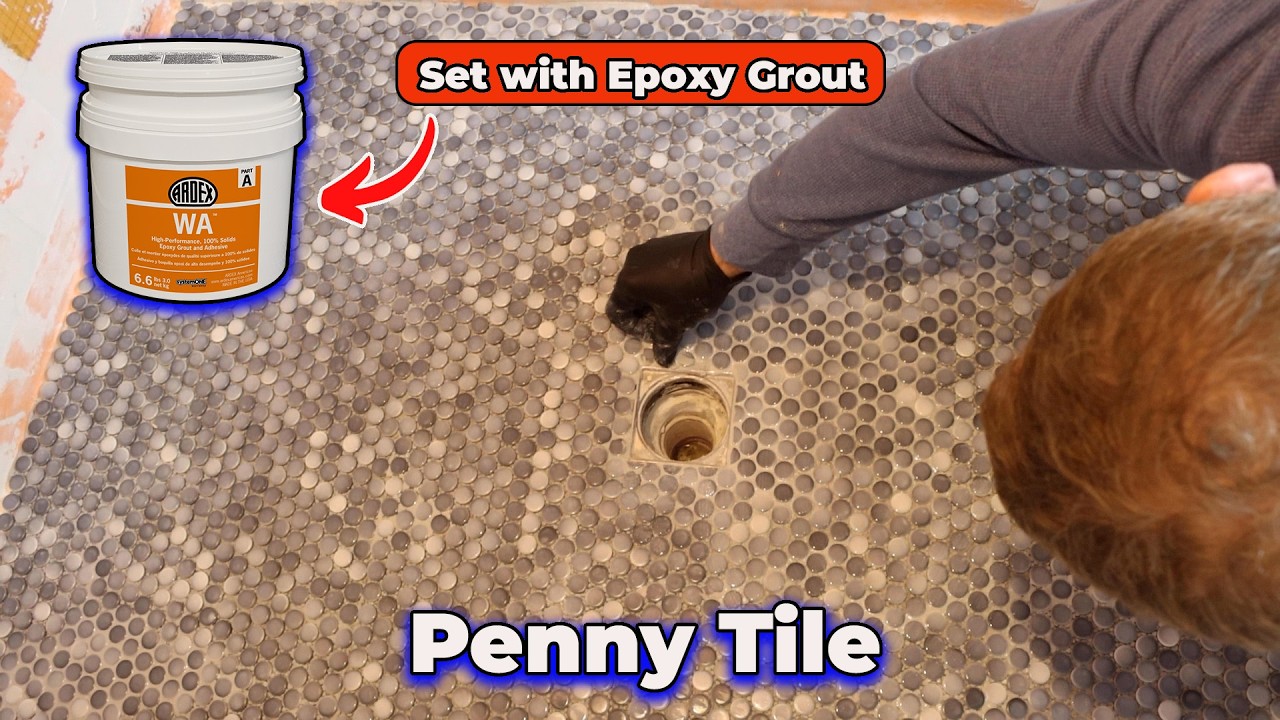
Now picture this instead: you lay your tile, epoxy squeezes up between the joints, and you simply wipe the surface clean. No panicked scrubbing. No ruined grout lines. Because the adhesive and the grout are the same product — the same color — any squeeze-out just becomes part of the finish. By the next day, you're grouting over a perfectly set floor that already looks cohesive. That's the approach taught by Bathroom Remodeling Teacher, and it's a genuine game-changer for anyone tackling a curbless shower or small mosaic tile project.
Bathroom Remodeling Teacher doesn't just show you the happy path — the video walks through critical details like isolating the curbless shower joint with caulk to stop capillary water movement, choosing the right notch trowel size for epoxy versus thin set, how to build up your epoxy bed at the shower entry so the tile sits flush with the exterior floor, and exactly when to wipe down the surface for the cleanest result. This is experienced, job-site-level knowledge translated into a format any motivated homeowner can follow.
This checklist captures every single step from the video in a clean, printable PDF you can bring right into your bathroom. From mixing Ardex WA two-part epoxy to piecing in cuts around the drain, every action is laid out in order with the specific tips, product names, tool sizes, and timing cues you need to get it right the first time. Stop rewinding the video with wet hands. Grab the checklist, follow the steps, and walk away with a shower floor you're genuinely proud of.
What's Inside — Preview
Every checklist item comes with actionable notes to guide you — things like "Don't forget to do this before you start," "Avoid this common mistake," or "Set a reminder for 30 days out." Nothing vague, just clear next steps.
BUY
Purchase Ardex WA two-part epoxy grout/adhesive in your desired grout color
MEASURE
Calculate total square footage of your shower floor and buy enough Ardex WA to cover the entire project
PLAN
Plan your tile layout starting from any critical visible joint rather than the back wall
DO
Apply a caulk joint along the transition between the shower floor tile and any adjacent exterior floor tile
DO
Wipe the substrate surface with a damp sponge to remove all dust and debris before applying epoxy
+ 14 more action items inside...
 ▶ Watch the source video on YouTube