Raspberry Pi Wall Dashboard Setup Checklist
Set up a Raspberry Pi Touch Display 2 wall dashboard running Home Assistant from scratch.
Based on: the PERFECT Raspberry Pi wall dashboard? by NetworkChuck
 ▶ Watch the source video on YouTube
Set up a Raspberry Pi Touch Display 2 wall dashboard running Home Assistant from scratch.
Based on: the PERFECT Raspberry Pi wall dashboard? by NetworkChuck
▶ Watch the source video on YouTube
What if the cluttered mess of smart home apps on your phone could be replaced by a sleek, always-on wall display that actually looks like it belongs in a tech lab? Not a cheap Amazon tablet that dims after 30 seconds, not an iPad you feel guilty mounting to drywall — a proper, fully customizable dashboard you control completely. That vision is closer than you think, and NetworkChuck just proved it on camera.
Here's the real problem most home lab enthusiasts hit: you spend weeks setting up Home Assistant, Proxmox, and a dozen automations — and then nobody in your house can actually use any of it. Your family stares at you blankly when something breaks. Your smart home is a black box only you understand. You deserve a display that bridges that gap, and you deserve it mounted on a wall where everyone can see and touch it.
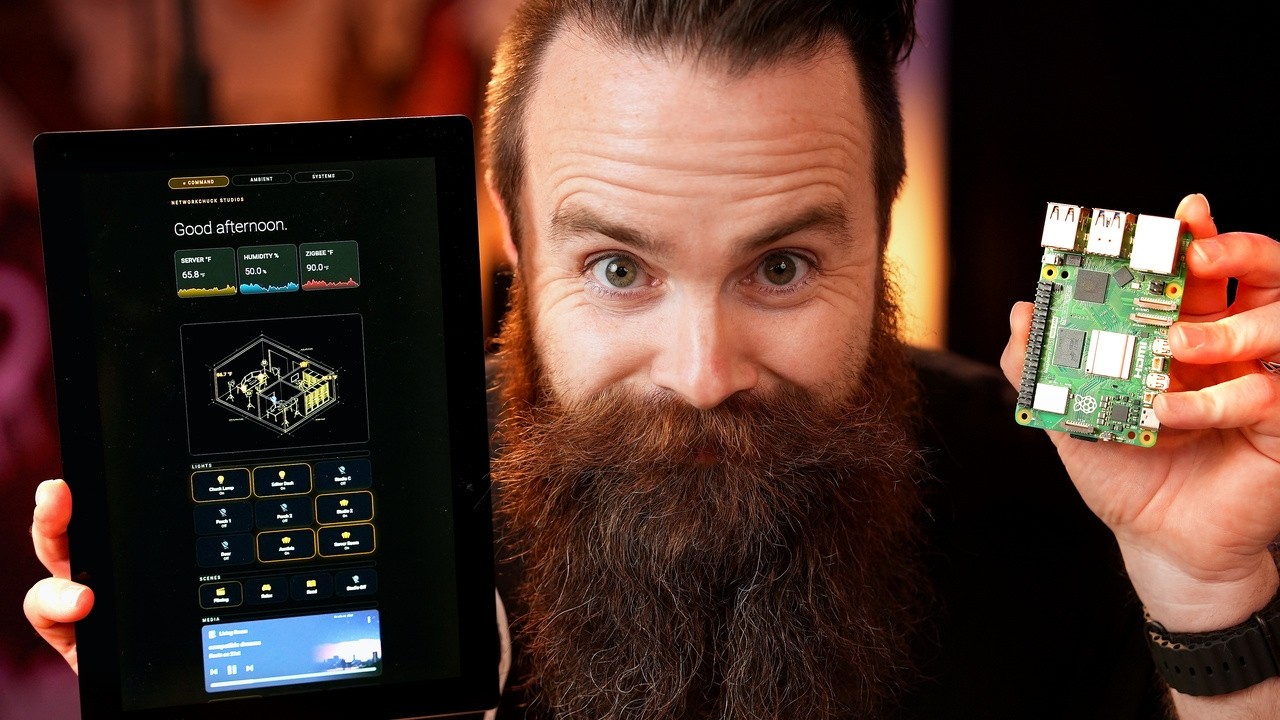
Now imagine walking past your hallway and seeing a crisp 10-inch portrait display glowing with live sensor graphs, room controls, and automation dashboards. Your partner can finally dim the lights without asking you. Your network stats are visible at a glance. It boots itself back up after a power cut. It never sleeps. It just works — and it looks incredible doing it.
NetworkChuck is one of the most trusted voices in the home lab and networking community, with millions of subscribers who follow him precisely because he tests things for real, breaks them, fixes them, and documents every lesson learned. In this build, he went from an unbooted Raspberry Pi 5 to a fully mounted, Touch Kiosk-powered Home Assistant wall dashboard — including the firmware mistake that burned him an entire day so you don't have to repeat it.
This checklist captures every single step from that build: the hardware you need, the firmware update that most people skip, the ribbon cable gotcha, the wall mounting workaround, the Touch Kiosk setup, and the Home Assistant dashboard configuration tips. Follow it in order and you'll have your own wall dashboard running faster than NetworkChuck did on his first attempt. That's exactly what this checklist is here to help you do.
Every checklist item comes with actionable notes to guide you — things like "Don't forget to do this before you start," "Avoid this common mistake," or "Set a reminder for 30 days out." Nothing vague, just clear next steps.
+ 13 more action items inside...
Instant PDF download. Start taking action today.
✓ Instant download · ✓ PDF format · ✓ No subscription