Why You Need This Checklist
Have you ever noticed a strange smell near your rear wheels, or worse, found gear oil coating your brake rotors? If you drive a Toyota Tacoma, 4Runner, GX460, Tundra, or Sequoia, a leaking axle seal is one of those problems that sneaks up on you quietly — and then hits your wallet all at once when you ignore it long enough.
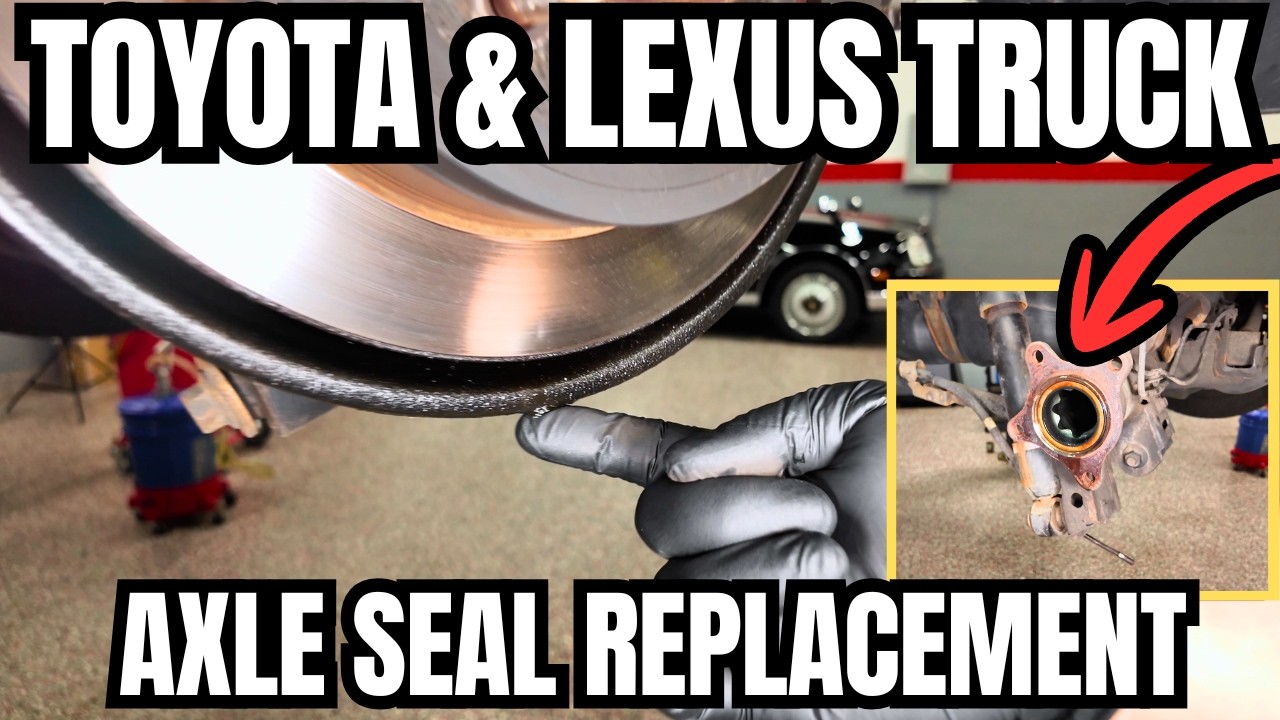
Here's the uncomfortable truth: a small axle seal leak left unaddressed doesn't just stay small. The gear oil works its way into your brake rotor, saturates your brake pads, coats your parking brake shoes, and can even destroy a perfectly good wheel bearing. What started as a $20 seal turns into a full brake job, a parking brake rebuild, and potentially a bearing replacement. That's exactly what happened on the 2014 GX460 featured in this video — gear oil had completely soaked the rotor and lined every inch of the parking brake assembly.
Now imagine instead catching it early, handling it yourself on a weekend, and driving away knowing both sides are sealed properly, your differential is topped off with fresh fluid, and your brakes are clean and safe. That's the outcome this checklist is designed to get you to.
The Car Care Nut has built one of the most trusted automotive channels around by walking real owners through real repairs on real vehicles — no fluff, no shortcuts, just honest mechanical guidance from someone who clearly loves these trucks. In this video, he works through every stage of a rear axle seal replacement on a GX460, including the notoriously frustrating parking brake shoe reinstallation, the brake line bracket workaround that saves you a full brake bleed, and the correct technique for seating the new seal without damaging it.
This PDF checklist captures every actionable step from that video in a clean, printable format you can take straight to your garage. It includes tool callouts, brand-specific tips, common mistakes to avoid, and the key warnings the video emphasizes — like never reusing differential fluid, always replacing both seals at once, and why overtightening the parking brake adjuster can destroy your new axle seal all over again.
Whether you are a seasoned DIYer or someone doing this for the first time, this checklist keeps you on track so nothing gets missed. Print it, check off each step, and get your truck back on the road the right way.
What's Inside — Preview
Every checklist item comes with actionable notes to guide you — things like "Don't forget to do this before you start," "Avoid this common mistake," or "Set a reminder for 30 days out." Nothing vague, just clear next steps.
CHECK
Identify axle seal leakage by smelling for gear oil near rear wheels and visually inspecting for wetness or dried residue around the axle hub area
CHECK
Check differential fluid level immediately if a seal leak is suspected, especially if waiting before repair
DO
Lift and support the rear of the vehicle safely, then drain the rear differential fluid before beginning disassembly
DO
Temporarily reinstall the differential drain plug after draining to keep the housing closed during the repair
DECIDE
Plan to replace BOTH rear axle seals, not just the one that is visibly leaking
+ 37 more action items inside...
 ▶ Watch the source video on YouTube