Why You Need This Checklist
Ever had a squeaky driveshaft that you knew was going to become a full breakdown if you ignored it just one more week? Here is the thing most DIYers do not know: removing a U-joint the wrong way can actually make the job harder than the original problem. One wrong squeeze on those driveshaft ears and you are fighting a battle you did not sign up for.
If you have a 2011 Ford F-150 — or really any truck with a steel driveshaft — that worn-out U-joint is more than an annoyance. It is a ticking clock. The squeak turns into a clunk, the clunk turns into a vibration, and before long you are stranded on the side of the road calling a tow truck for a part that costs less than a dinner out. The real frustration is not the cost of the repair. It is not knowing exactly what to do, step by step, without bending something, losing a needle bearing, or cracking a snap ring into three pieces at the worst possible moment.
Imagine finishing this job in your own driveway, saving the $200-plus shop labor, and driving away knowing every clip is seated and every needle is exactly where it belongs. That is the win this checklist is built for.
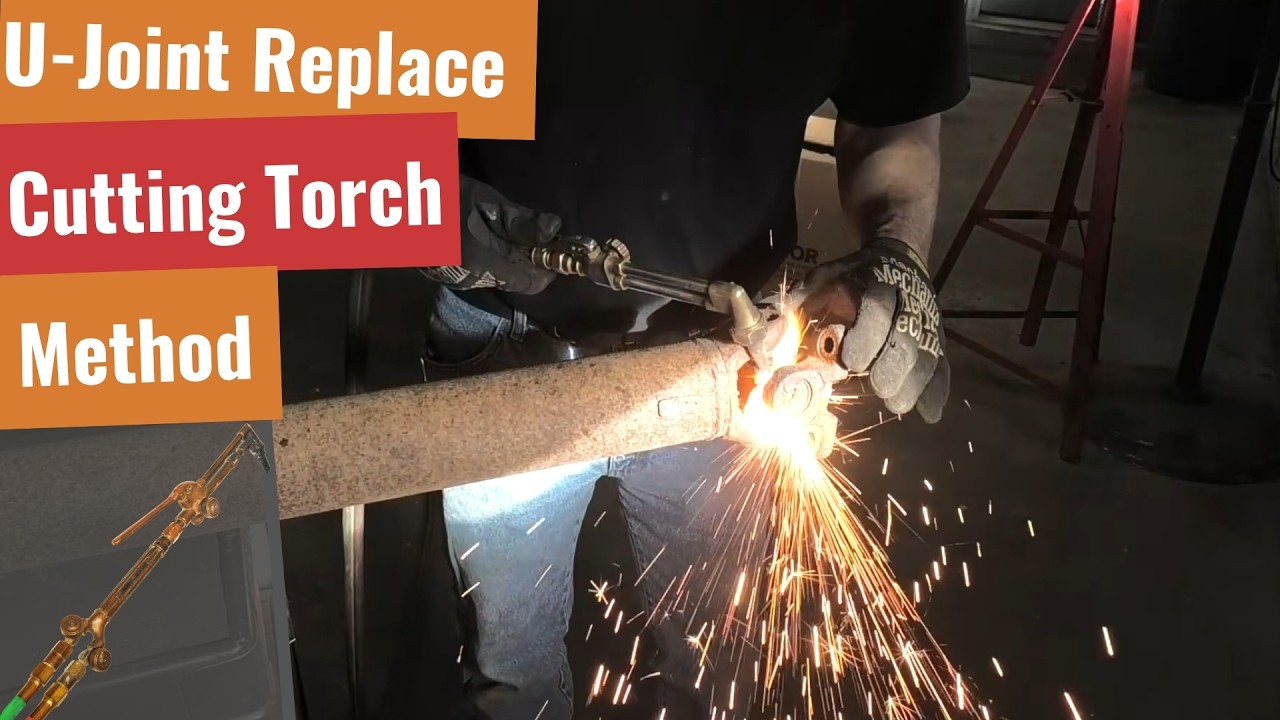
Eric from South Main Auto LLC has been turning wrenches professionally for decades, and his no-nonsense teaching style cuts through the noise fast. In this video he walks through the cutting torch method for U-joint removal — a technique that protects those critical driveshaft ears better than most press methods when you do not have a shop press handy. He covers the factory Loctite on the flange bolts, why you burn the cap tops first before cutting, how to properly support the yoke in a bench vise to avoid the deadly ear-squeeze, cleaning the snap ring grooves with emery cloth and a Dremel cut-off bit, installing a non-greaseable NAPA 231 U-joint, and torquing the flange bolts back to factory spec with blue Loctite.
This PDF checklist captures every single step Eric demonstrates, in order, with the specific tools, brands, part numbers, and pro tips he shares along the way. No rewinding the video. No scrambling for notes with greasy hands. Just a clean, printable action list you can take straight to the garage.
Grab the checklist, follow each step, and get that driveshaft feeling floppy and free the way it should be.
What's Inside — Preview
Every checklist item comes with actionable notes to guide you — things like "Don't forget to do this before you start," "Avoid this common mistake," or "Set a reminder for 30 days out." Nothing vague, just clear next steps.
CHECK
Identify and confirm the squeaky U-joint by rotating the driveshaft by hand before removal
DECIDE
Decide on replacement U-joint type — greaseable vs. non-greaseable — before ordering
BUY
Order the replacement U-joint — NAPA 231 non-greaseable U-joint for this application
DO
Apply heat to the flange bolts with a torch to break the factory Loctite bond before removal
DO
Remove the flange bolts and drop the driveshaft out of the vehicle
+ 23 more action items inside...
 ▶ Watch the source video on YouTube