Roof Sheathing & Rafter Install Pro Checklist
Follow every step the Perkins Builder Brothers use to frame, sheath, and seal a complex custom roof.
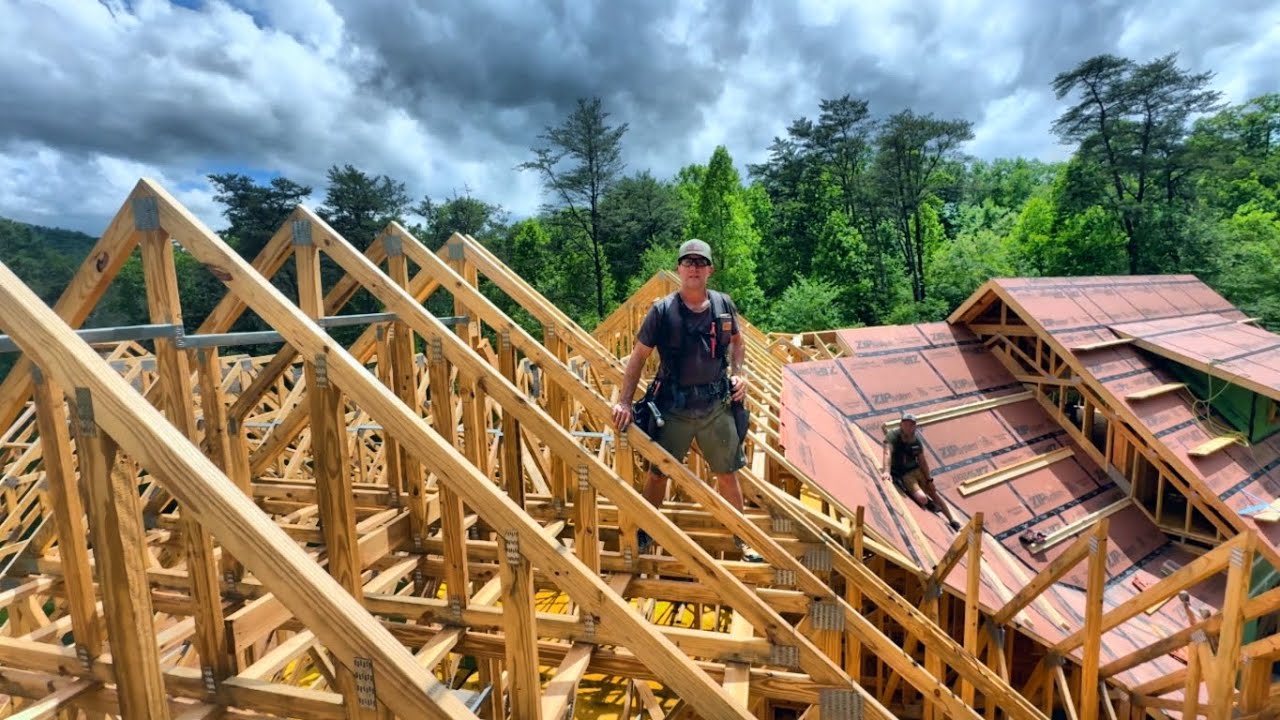
Based on: Building A Dream Home Episode 42 by Perkins Builder Brothers
Follow every step the Perkins Builder Brothers use to frame, sheath, and seal a complex custom roof.
Based on: Building A Dream Home Episode 42 by Perkins Builder Brothers
Have you ever stood on a half-framed roof, stared at a tangle of trusses, valley intersections, and weird angles, and had absolutely no idea where to start? You are not alone. Complex roof framing is the stage where a lot of confident DIY builders hit a wall — and expensive mistakes made here follow you for the lifetime of the structure.
Here is the uncomfortable truth: most how-to content either glosses over the hard parts or assumes you already know things like how to pull layout off a common truss, why your ridge may or may not be load-bearing, or how to use arcs to find a cut point when you literally cannot measure to it directly. One wrong assumption at the rafter stage means wavy sheathing, leaky valleys, and sheathing joints that land nowhere near a framing member.
Now imagine moving through your roof framing day with a clear, step-by-step sequence in your hands. You know exactly how to pull rafter layout from a straight reference truss, how to mark and cut compound-angle pieces without spending an hour doing math, how to use a long straightedge to find ridge intersection points, and how to use the Zip System sheathing and tape correctly so your valleys do not need to be woven. You finish the day with solid, dry-in-ready sheathing and the confidence that every sheet breaks on a framing member.
The Perkins Builder Brothers have been building custom homes on camera for years, walking through every real-world problem — rain delays, dull saw blades, piggyback trusses that sit proud, sections of roof that are not even on the truss plans — and solving them in real time. This checklist distills Episode 42 of their Dream Home build into a clear action sequence you can hold in your hand on the roof deck.
This PDF checklist gives you every actionable step from that episode: how to check a reference rafter for straightness before pulling layout, how to use a big straight-edge stick to find your sheet endpoint at a ridge, when to use ring-shank nails versus screws and at what spacing, how to fit compound-angle blocking without knowing either angle, and how to set up a walk plank system for steep or awkward roof sections. Every pro tip, every common mistake they caught on camera, is captured here so you do not have to rewind the video fifteen times. Grab the checklist, get on the roof, and build it right.
Every checklist item comes with actionable notes to guide you — things like "Don't forget to do this before you start," "Avoid this common mistake," or "Set a reminder for 30 days out." Nothing vague, just clear next steps.
+ 23 more action items inside...
Instant PDF download. Start taking action today.
✓ Instant download · ✓ PDF format · ✓ No subscription