Why You Need This Checklist
What if the thumping, pulsing feeling in your brake pedal is costing you far more than a simple rotor swap would? If you drive a Subaru Forester — especially in a rust-prone state like New York — your inner rotor surfaces may already be corroding faster than the outside shows. That uneven rust buildup is exactly what causes that maddening brake thump, and most drivers have no idea until it gets expensive.
Here's the reality: front brake jobs on a Forester look intimidating if you've never done one, but the actual process is straightforward when someone walks you through every detail. The problem is most guides skip the small stuff — which hardware clip width fits your rotor, which piston to push back, where to apply silicone grease so your caliper pins don't seize up over winter. Get one of those details wrong and you're back under the car in six months.
Imagine confidently rolling your Forester into the driveway, pulling the wheels, swapping pads and rotors with the right tools in hand, and driving away knowing the job is done correctly — torqued to spec, lubed in the right places, and ready for another season. No shop bill. No waiting room. No wondering if the tech actually checked the fluid.
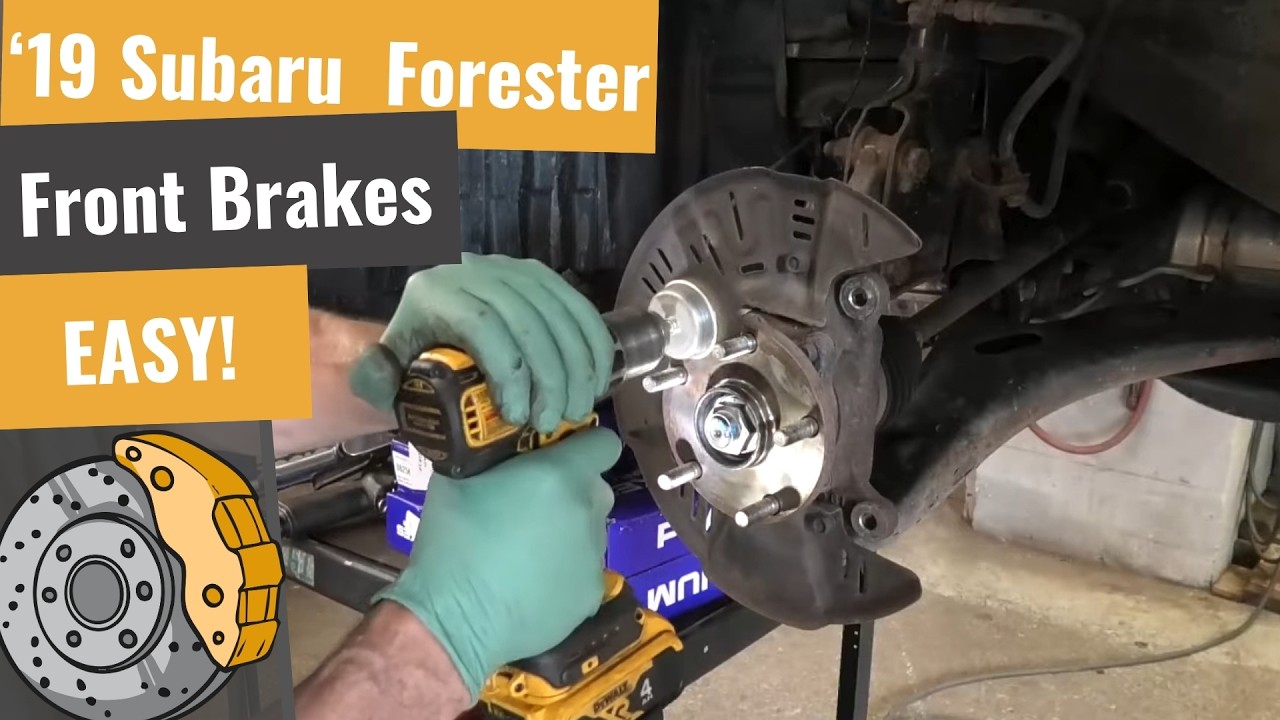
That's exactly the outcome Ray from South Main Auto LLC makes possible. Ray is a working professional mechanic who teaches real-world repair without the fluff. His channel has helped thousands of DIYers tackle jobs they assumed were beyond them. This checklist is built directly from his hands-on Subaru Forester front brake walkthrough — capturing every tool, torque spec, lubrication point, hardware selection tip, and safety check he covers in the video.
This PDF checklist gives you a clear, step-by-step action plan: the exact socket sizes you need (14mm and 19mm), how to identify the correct wide hardware clips for your rotor width, where silicone grease goes on the caliper pins versus where anti-squeal compound goes on the pad ears, and the precise torque values for both the caliper slide bolts and the bracket bolts. It even reminds you to pump the brake pedal before you move the car — a step that catches first-timers off guard every time.
Download this checklist, print it out, and take it to the garage. Your Forester's brakes will thank you.
What's Inside — Preview
Every checklist item comes with actionable notes to guide you — things like "Don't forget to do this before you start," "Avoid this common mistake," or "Set a reminder for 30 days out." Nothing vague, just clear next steps.
DO
Gather the correct tools before starting: 14mm socket, 19mm socket, torque wrench, and an impact gun (or breaker bar)
CHECK
Secure the vehicle safely with the steering wheel locked and the car on a stable lift or jack stands
DO
Remove the two caliper slide bolts using a 14mm socket
AVOID
Support the caliper safely — hang it from a hose hook or set it aside without stressing the brake hose
DO
Remove the two caliper bracket bolts using a 19mm socket
+ 25 more action items inside...
 ▶ Watch the source video on YouTube