Why You Need This Checklist
Have you ever stared at a bare shower frame and wondered if you're really capable of pulling this off yourself — or if one wrong move will cost you thousands in repairs down the road? That question stops more DIYers in their tracks than any tool or material ever could.
Here's the hard truth: a shower is one of the most water-exposed surfaces in your entire home. A bad pan installation, a skipped waterproofing step, or a curb pitched the wrong direction can lead to hidden moisture damage that doesn't show up until mold is already growing inside your walls. By then, you're not just retiling — you're gutting drywall, replacing framing, and calling a contractor. The margin for error is small, and the stakes are real.
But here's what the Lowe's Home Improvement team shows you in their walk-in shower series: when you take it step by step, this is absolutely achievable as a DIYer. The right products — like the Schluter shower pan system with its built-in slope, the Kerdi waterproofing membrane, and latex-modified thin set — do a lot of the heavy lifting for you. And when you understand why each step matters, you stop guessing and start building with confidence.
The Lowe's channel has earned its reputation by making complex home improvement projects feel approachable without dumbing them down. This series is a masterclass in doing it right the first time — from squaring your framing so your grout lines never look off, to the 'Schluter shuffle' that ensures your pan bonds evenly, to back-buttering your curb and checking squeeze-out so you know your waterproofing is actually continuous.
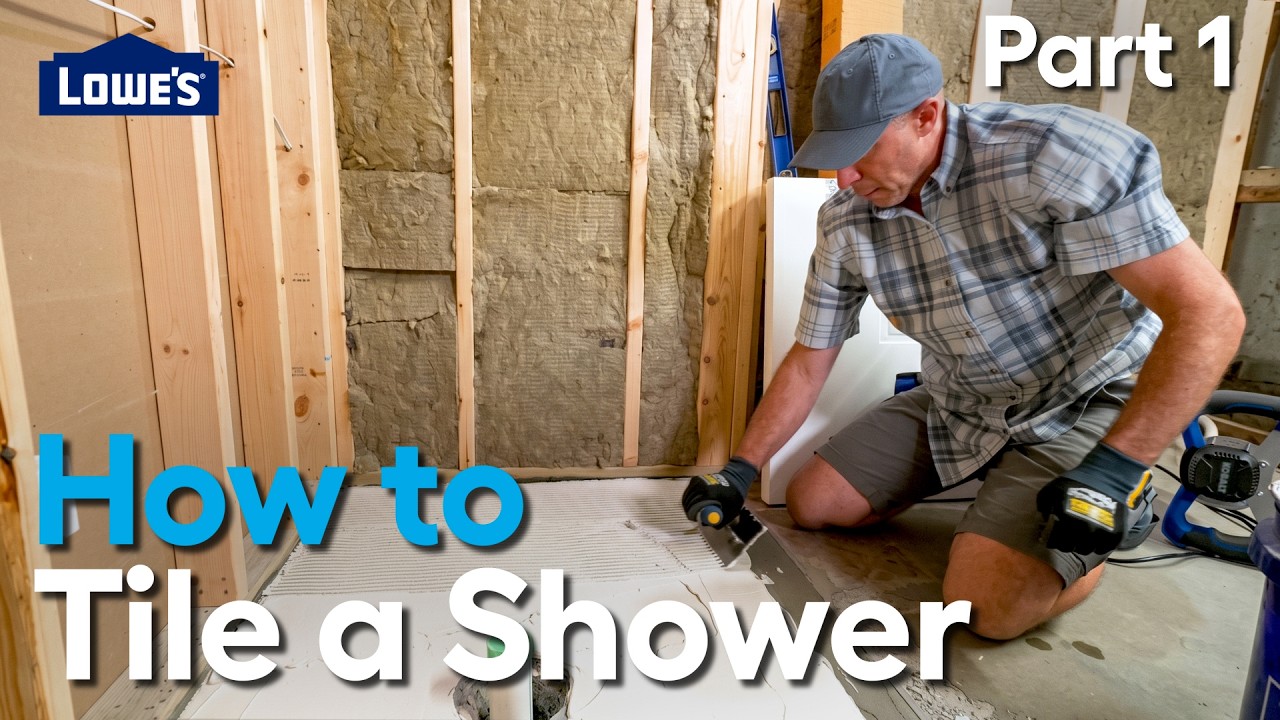
This checklist captures every actionable step from Part 1 of that series — the framing decisions, substrate prep, thin set mixing, pan installation, drain plumbing, and curb setting — organized so you can work through the project without rewinding the video seventeen times. Every product name, every measurement tip, every quality-control check is right here in your hands.
Print it out, take it to the job site, and check off each step as you go. Your future self — the one standing in a beautifully tiled, leak-free shower — will thank you for getting this part right.
What's Inside — Preview
Every checklist item comes with actionable notes to guide you — things like "Don't forget to do this before you start," "Avoid this common mistake," or "Set a reminder for 30 days out." Nothing vague, just clear next steps.
DECIDE
Plan all shower design decisions before touching a single piece of framing
BUILD
Frame the shower opening plumb, level, and square to your chosen pan dimensions
CHECK
Install and pressure-test your shower valve and water supply lines before closing walls
MEASURE
Center the drain location and align it with the shower valve before finalizing rough plumbing
DO
Pour self-leveling floor leveler over the shower subfloor area and allow it to fully cure
+ 25 more action items inside...
 ▶ Watch the source video on YouTube