Why You Need This Checklist
You walk into your bathroom every single morning and see those ceramic relics from 1960 staring back at you. The bar soap holder that nobody uses anymore. The toothbrush holder that can't fit your electric toothbrush. That outdated tile fixture taking up valuable counter space on your already-small vanity. You've been wanting to update your bathroom for years, but you're not ready for a full remodel. The problem? Every time you look at those old ceramic fixtures, you think the job is going to be a nightmare. Breaking tile, patching walls, matching grout that hasn't been made in decades. So they stay. And your bathroom stays stuck in the past while the rest of your home moves forward.
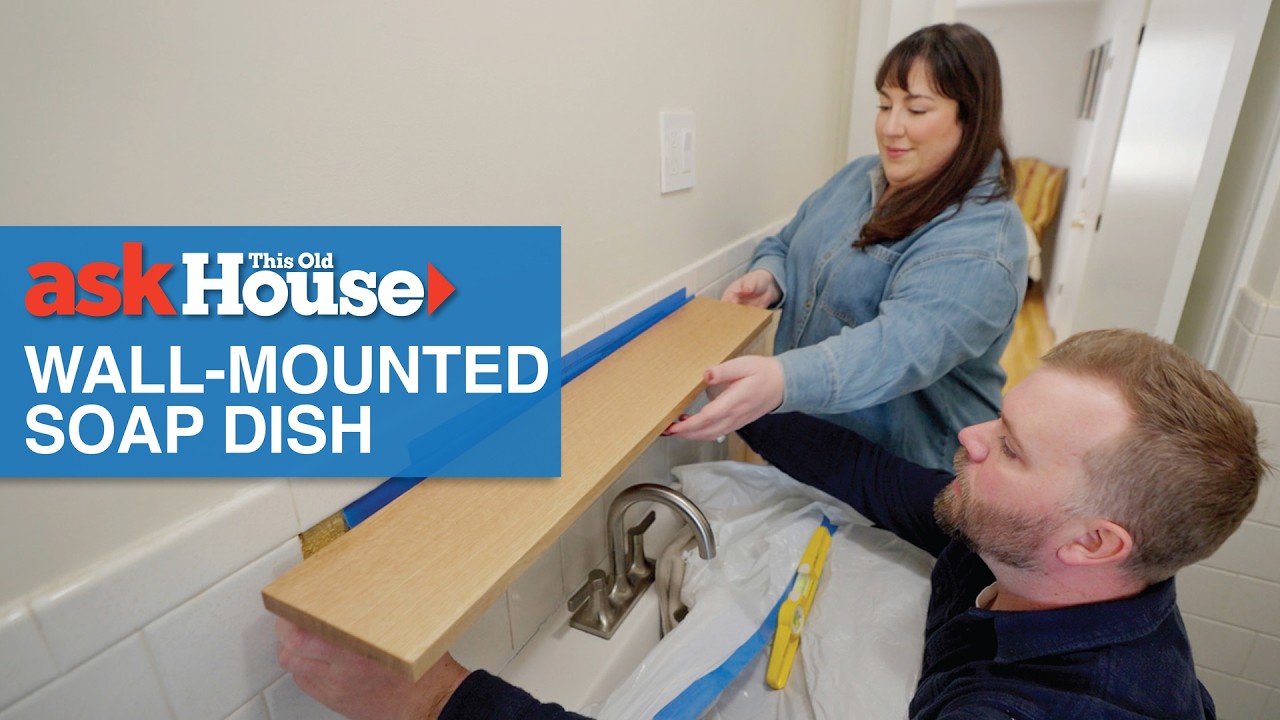
What if I told you that removing those fixtures and installing a beautiful modern shelf is actually a weekend project you can tackle yourself? Nathan Gilbert from This Old House just walked a homeowner through this exact transformation, and the results are stunning. No major demolition, no expensive contractor, no weeks of mess. Just a methodical process that turns dated ceramic fixtures into functional, beautiful storage that matches your updated style.
This isn't about ripping apart your entire bathroom. It's about making one strategic update that completely changes how the space looks and functions. Imagine opening your bathroom door and seeing a gorgeous quarter-sawn white oak shelf with gold brackets, perfectly centered above your vanity. Your skincare products organized. Your jewelry visible. Your towels hanging from stylish hooks instead of that old bar. The transformation Nathan created proves that you don't need to gut the room to make it feel current.
Nathan Gilbert has been solving homeowner challenges on This Old House for years, bringing professional techniques to real people in real homes. His approach is careful, methodical, and designed for success even if you've never removed a tile in your life. He knows exactly how those old fixtures were installed because he's seen every variation from the 1960s through today.
This checklist gives you Nathan's complete process: the exact tools to use, how to remove ceramic fixtures without breaking surrounding tile, what anchors work in tile and drywall, how to find your center line for perfect placement, and even the finishing touch of clocking your screws in the same direction for a professional look. You'll transform your bathroom this weekend.
What's Inside — Preview
Every checklist item comes with actionable notes to guide you — things like "Don't forget to do this before you start," "Avoid this common mistake," or "Set a reminder for 30 days out." Nothing vague, just clear next steps.
CHECK
Assess how your ceramic fixtures were installed
BUY
Gather your removal tools
DO
Score all the grout around the first fixture
DO
Remove the toothbrush holder in one piece
DO
Clean old mastic adhesive from the wall
+ 26 more action items inside...